three.js-14-Haunted-House
在本节中,我们要造一个鬼屋。用Three.js的基本几何体。并以米作为基本单位
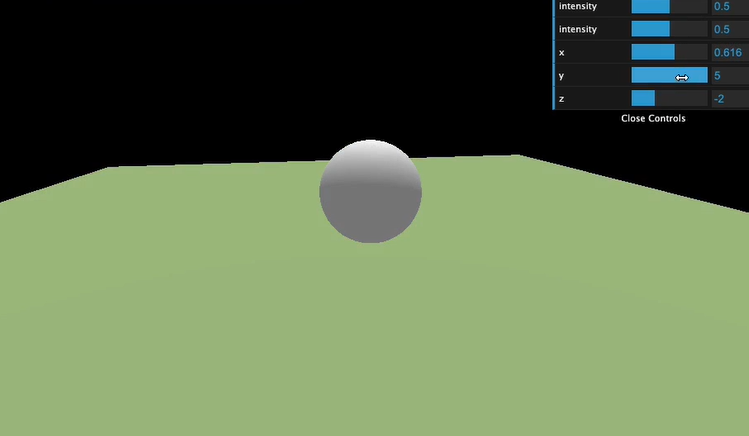
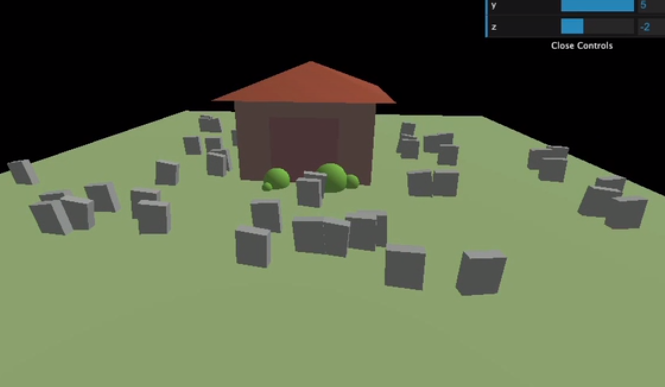
我们先建造基本场景:一个地板、一个球体、一些灯光、不必有阴影、一个Dat.GUI面板。点击下载初始包
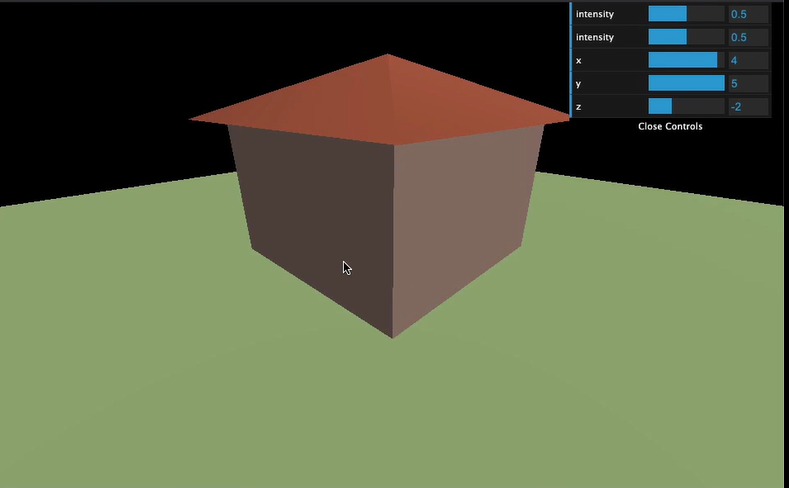
1.创建房子
- 建立房子我们先创建一个Group
1 | |
2. 然后创建墙
1 | |
3. 创建一个房顶
我们使用 ConeGeometry 。调整它的细分程度即可变为金字塔性质
1 | |
1 | |
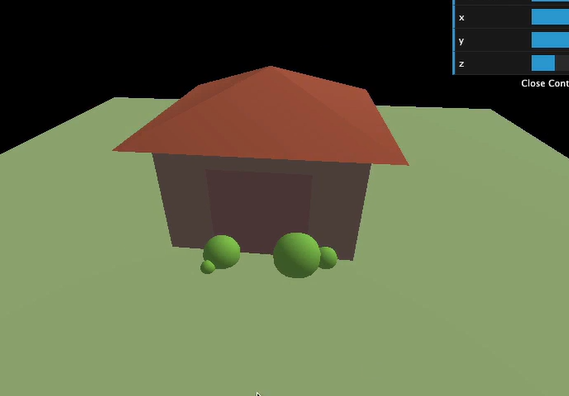
5. 添加草丛
因为草丛都是一样的材质,形状。所以我们不是创建三个草丛几何体,而是创建三个网格
1 | |
6. 添加坟墓
手动生成大量的坟墓会很耗时,所以我们就自动的生成并防止坟墓
首先我们创建一个坟墓组
1 | |
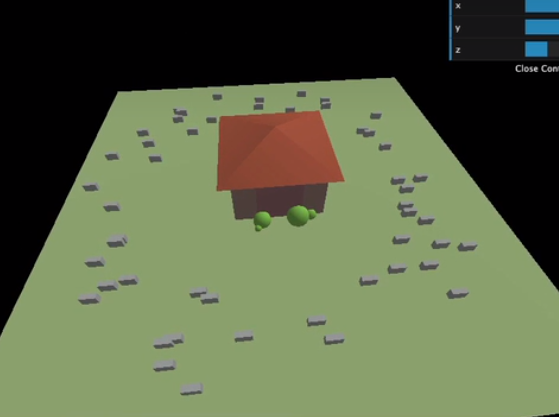
然后增加点随机旋转
1 | |
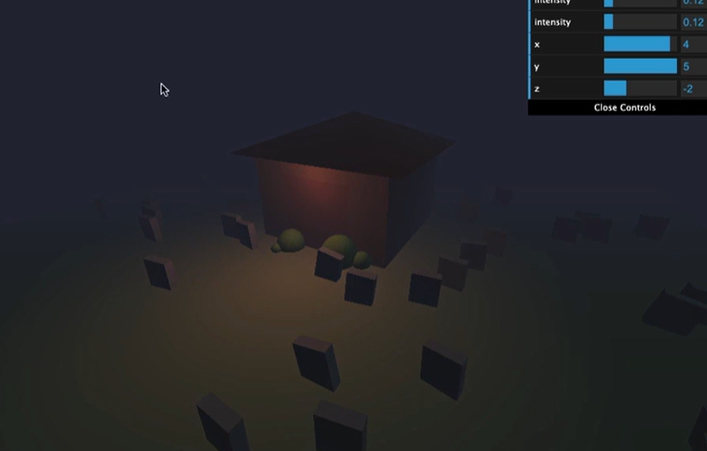
7. 灯光
然后调整灯光效果,并给一种蓝色的氛围色
1 | |

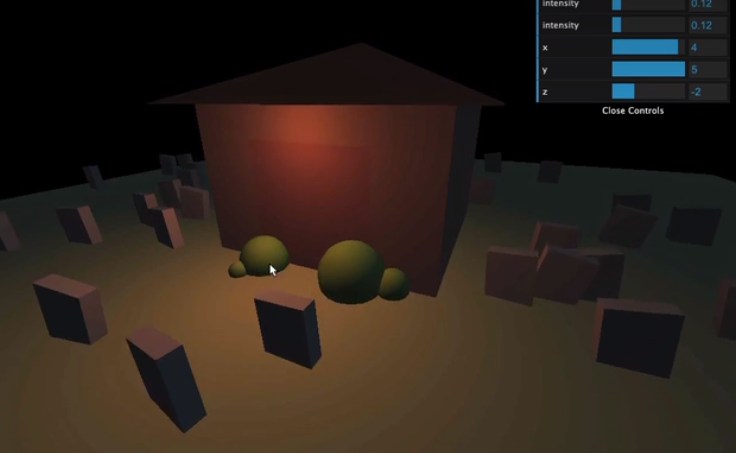
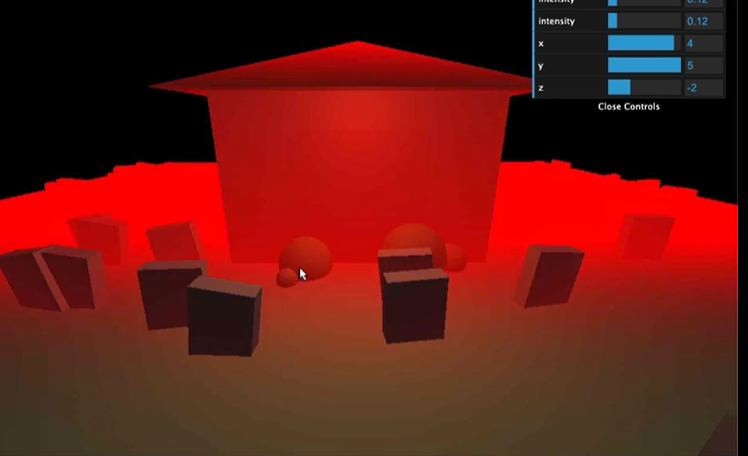
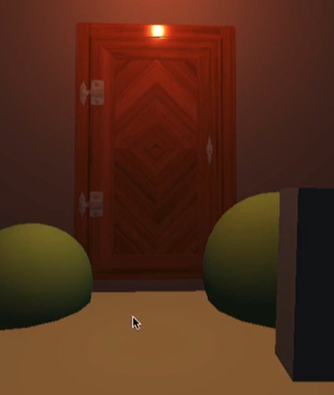
然后给门加上点光源
1 | |
8.雾
three.js提供了Fog类添加雾,要激活雾就在 scene上添加fog属性
1 | |
雾有三个属性:
color
near ——雾距离相机的距离单位,开始的位置
far ——雾完全透明的距离
调整一下颜色、近端和远端
1 | |
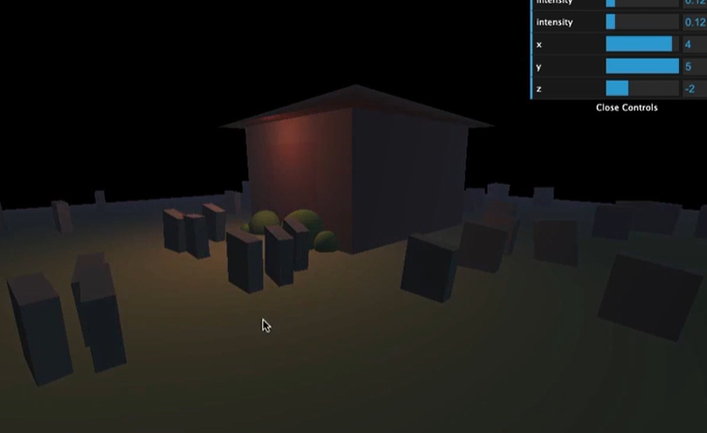
当镜头推远时会发现背景有很强的违和感,我们需要改变renderer的 clearColor 和雾一样的颜色
1 | |
这样一来背景和雾的颜色就一样了
9.添加材质
添加所有的材质
1 | |
然后将他们添加到door上
1 | |
调整门的位置
1 | |
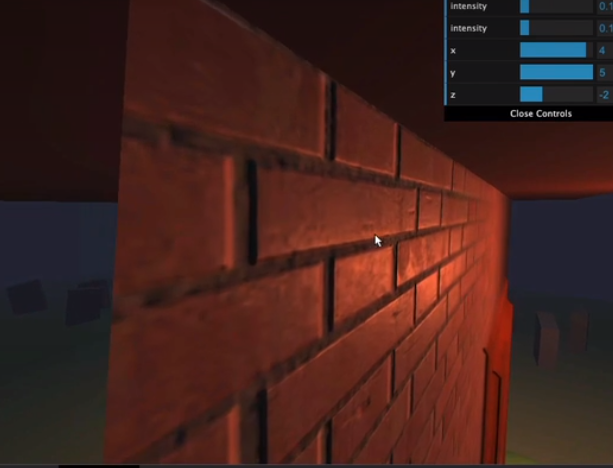
然后添加墙的材质
1 | |
给草添加材质
1 | |
three.js-14-Haunted-House
https://nanxfu.github.io/2023/03/04/three-js-14-Haunted-House/