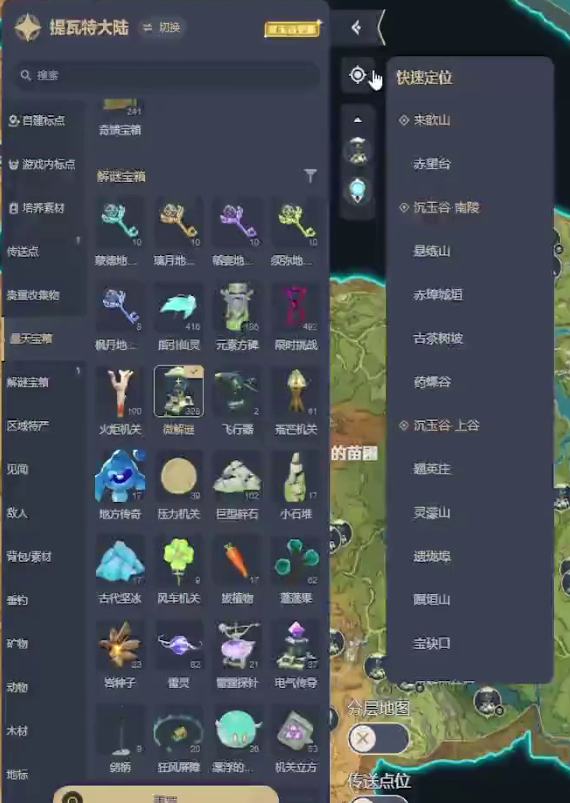
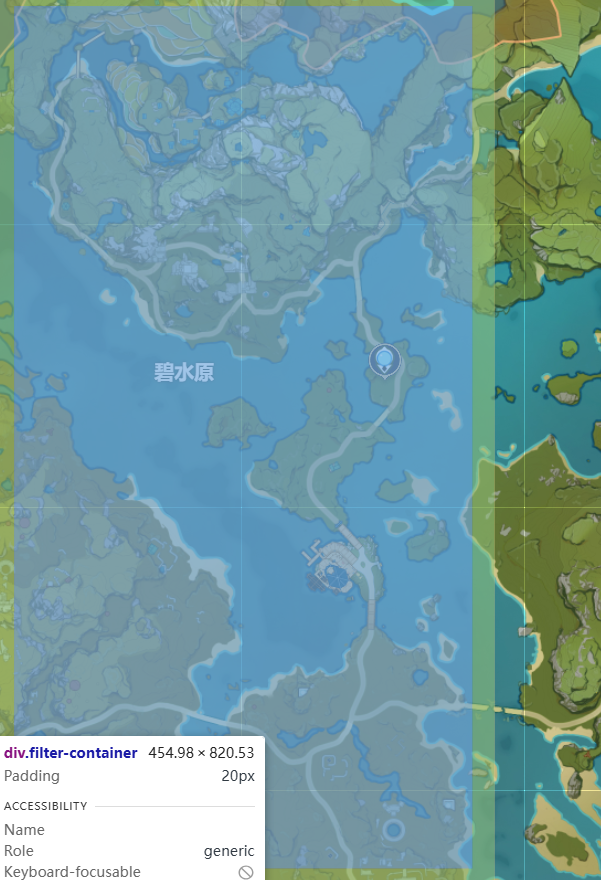
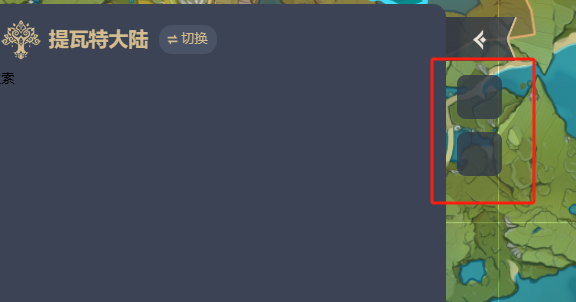
** 注意!!!** map与ui-layer应该具有同一个父元素,而不是父子关系,否则map会捕获所有鼠标事件
本节将开发
整体ui搭建 首先编写左侧filter-config代码
1 2 3 4 5 6 7 8 9 10 11 12 13 14 15 16 17 18 19 20 21 22 23 24 25 26 27 28 29 30 31 <template> <div id="map-container"> <div id="map"> <div class="ui-layer"> <div class="filter-container"> </div> </div> </div> </div> </template> <style scoped> .ui-layer .filter-container{ position: absolute; left: 0; top: 0; bottom: 0; width: 415px; padding: 20px; } .ui-layer .filter-container .filter-content{ position: relative; display: flex; flex-direction: column; background-color: #3b4354; width: 100%; height: 100%; border-radius: 12px; } </style>
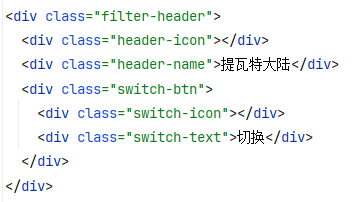
基本的ui框架搭建完成分析官网中的界面,可以进行组件拆分 在component下新建FilterHeader.vue组件并在filter-container中引入该组件 首先完成header部分效果
1 2 3 4 5 6 7 8 9 10 11 12 13 14 15 16 17 18 19 20 21 22 23 24 25 26 27 28 29 30 31 32 33 34 35 36 37 <style scoped> .filter-header { display: flex; align-items: center; padding: 12px 7px 7px 10px; color: #d3bc8e; } .header-icon { width: 40px; height: 40px; background-image: url("../assets/images/ui/xumi-icon.png"); background-size: cover; margin-right: 5px; } .header-name{ font-size: 18px; font-weight: bold; margin-right: 10px; } .switch-btn{ display: flex; align-items: center; padding: 4px 8px 4px 4px; border-radius: 12px; background-color: rgb(74, 83, 102); } .switch-icon{ width: 16px; height: 16px; background-image: url("../assets/images/ui/switch-btn.png"); background-size: cover; } .switch-text{ font-size: 12px; } </style>
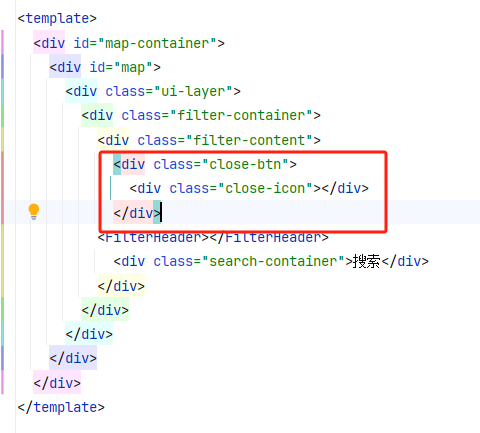
编写关闭按钮代码和样式
1 2 3 4 5 6 7 8 9 10 11 12 13 14 15 16 17 18 19 20 .close-btn{ position: absolute; top: 32px; right: -44px; width: 64px; height: 40px; background-image: url("../assets/images/ui/close-bg.png"); background-size: cover; display: flex; align-items: center; padding-left: 18px; box-sizing: border-box; z-index: 10; } .close-icon{ width: 24px; height: 24px; background-image: url("../assets/images/ui/close-icon.png"); background-size: cover; }
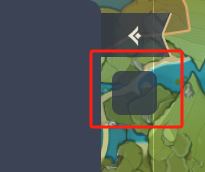
新建LocationBtn.vue并在Filter-header上方引入。实现一个占位组件
1 2 3 4 5 6 7 8 9 10 11 12 13 14 15 16 17 <template> <div class="location-btn"> </div> </template> <style scoped> .location-btn{ position: absolute; top: 84px; right: -30px; width: 40px; height: 40px; background-color: rgba(50,57,71,0.8); border-radius: 8px; cursor: pointer; }
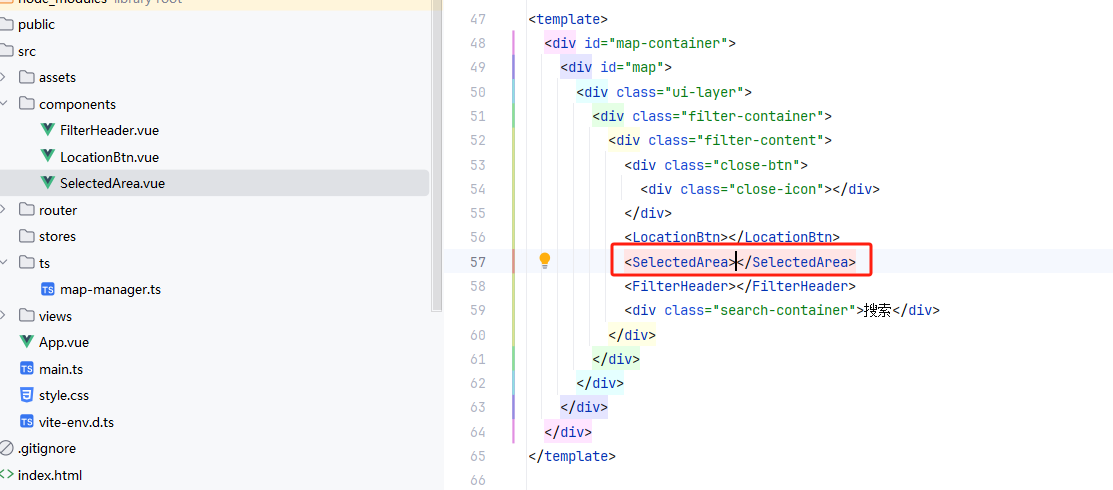
新建SelectedArea组件,内容与LocationBtn类似,调整以下top值到合适的位置即可
新建FilterMain组件,编写相应UI代码并引入
1 2 3 4 5 6 7 8 9 10 11 12 13 14 15 16 17 18 19 20 21 22 23 <template> <div class="filter-main"> <div class="filter-main-left"> </div> <div class="filter-main-right"></div> </div> </template> <style scoped> .filter-main{ flex: 1; display: flex; } .filter-main-left{ width: 97px; background: #323947; } .filter-main-right{ flex: 1; } </style>
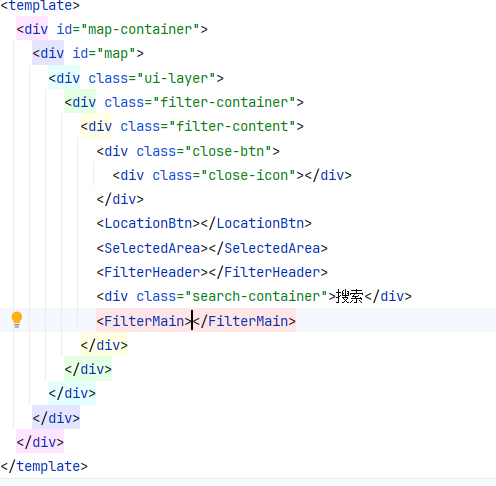
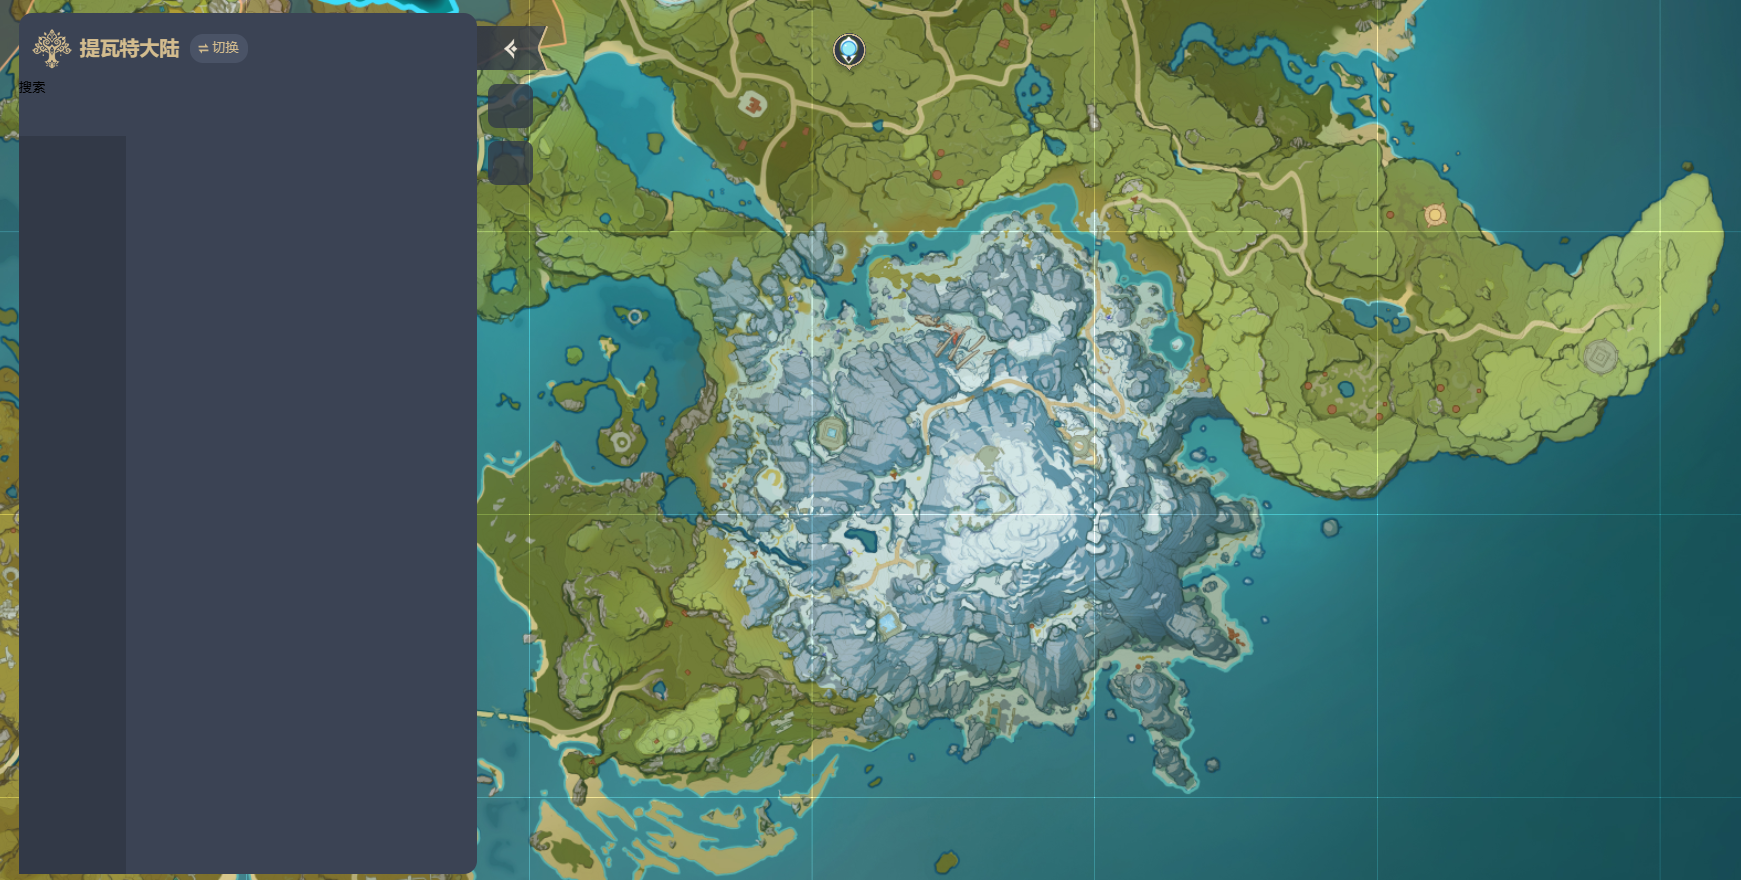
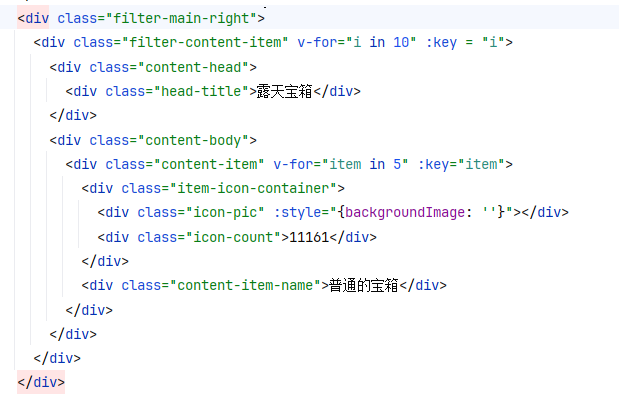
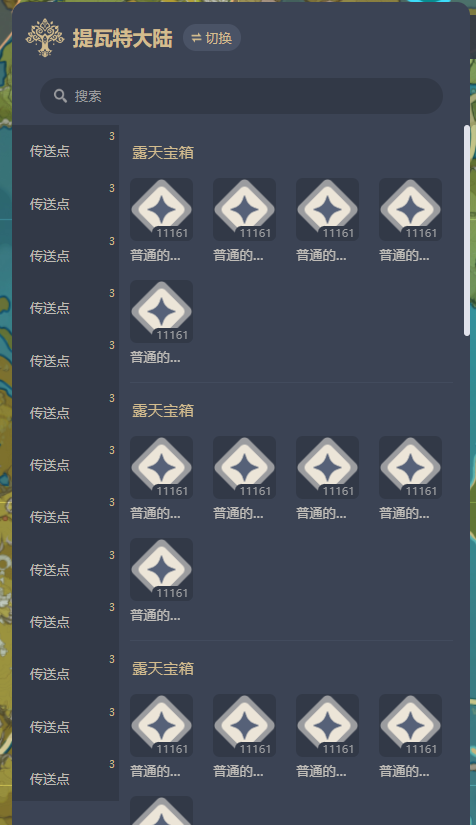
最终的filter区域HTML结构: 效果展示:
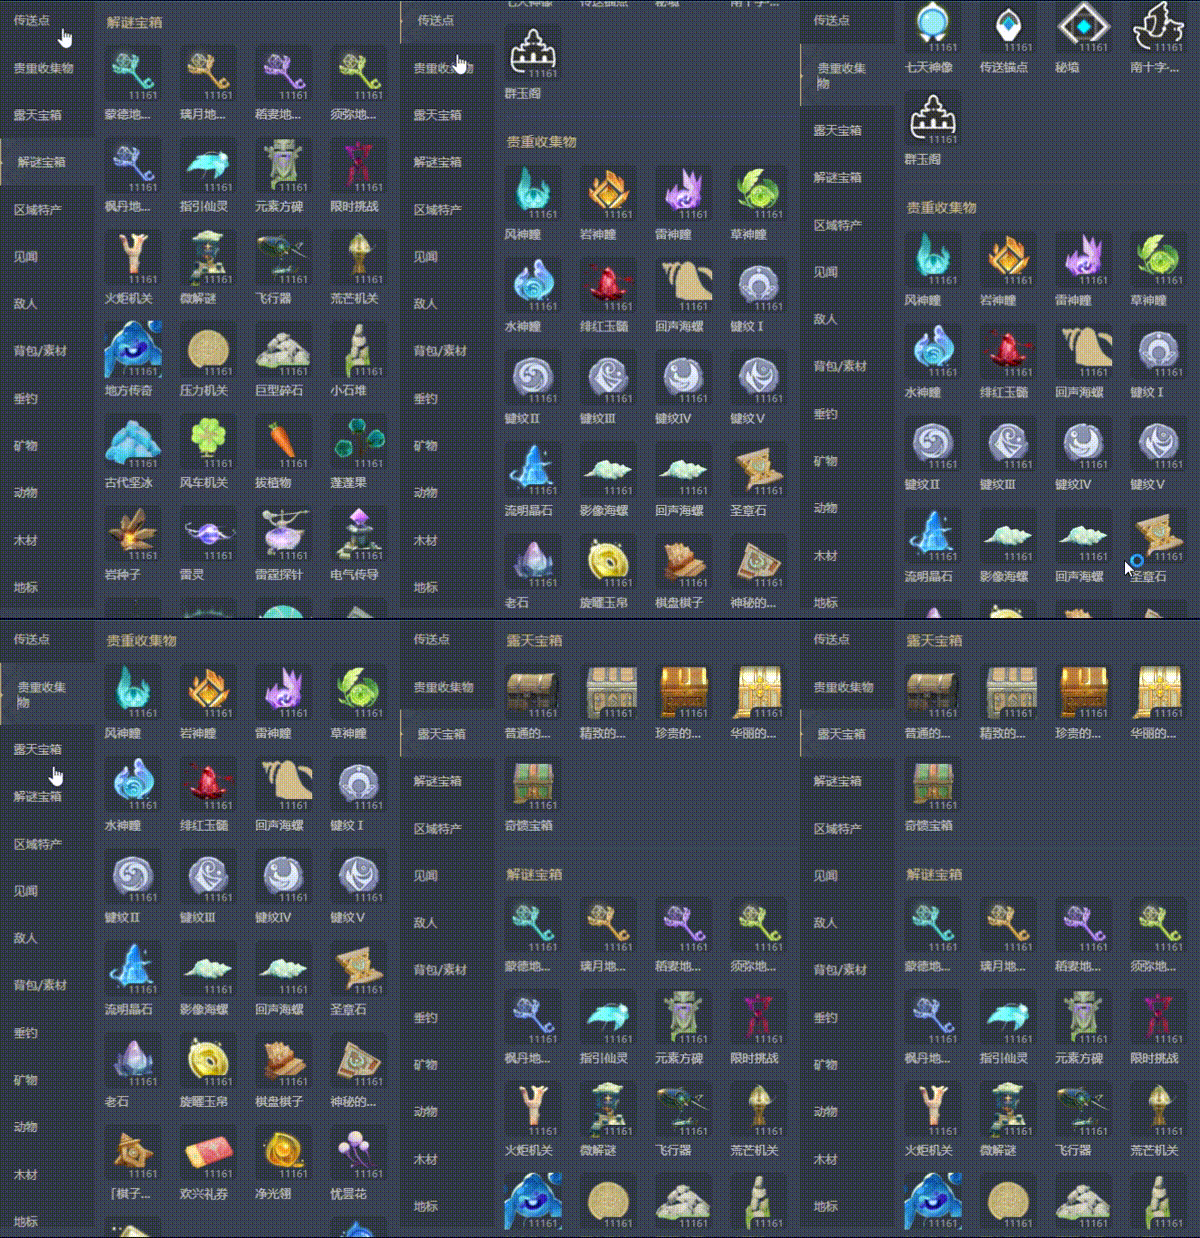
交互栏开发 本节搭建搜索框和左侧的筛选列表 搜索框HTML部分
1 2 3 4 <div class="search-container"> <div class="search-icon"></div> <div class="search-tip">搜索</div> </div>
CSS部分
1 2 3 4 5 6 7 8 9 10 11 12 13 14 15 16 17 18 19 .search-container { height: 32px; width:355px; display: flex; align-items: center; background-color: #323947; border-radius: 22px; padding-left: 10px; margin: 10px auto; font-size: 12px; color: #9b9c9f; } .search-icon { width: 16px; height: 16px; background-image: url("../assets/images/ui/search-icon.png"); background-size: cover; margin: 0 5px 0 1px; }
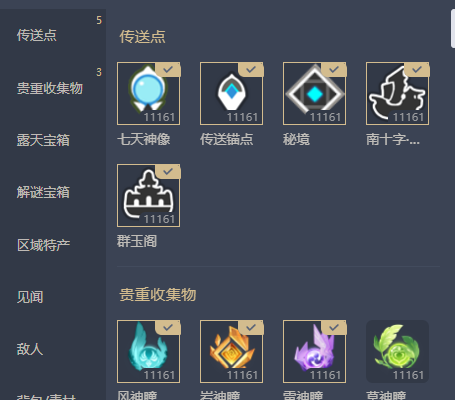
效果: 接着开发筛选列表部分
1 2 3 4 5 6 7 8 9 10 11 12 13 14 15 16 17 18 19 20 21 22 23 24 25 26 27 28 29 30 31 32 33 34 35 36 37 38 39 40 <template> <div class="filter-main"> <div class="filter-main-left"> <div class="filter-type-item" v-for="item in 20" :key="item"> <div class="item-name">传送点</div> </div> </div> <div class="filter-main-right"></div> </div> </template> <style scoped> .filter-main{ flex: 1; display: flex; overflow: hidden; } .filter-main-left{ width: 97px; background: #323947; overflow-y: auto; } .filter-main-left::-webkit-scrollbar{ display: none; } .filter-main-right{ flex: 1; } .filter-type-item{ display: flex; align-items: center; padding: 16px 16px; } .item-name{ color: hsla(39, 34%, 89%, 0.75); font-size: 12px } </style>
增加小角标
1 2 3 4 5 6 7 8 9 .item-count{ position: absolute; top: 5px; right: 4px; border-radius: 6px; line-height: 12px; font-size: 9px; color: #d3bc8e; }
添加筛选列表点击功能
1 2 3 4 5 6 7 8 9 10 11 12 13 14 15 16 17 18 19 20 21 22 23 24 25 26 27 28 29 30 31 32 33 34 35 36 <script setup lang="ts"> import {ref} from "vue"; const activeTypeIndex = ref(0) function onTypeItemClick(index: number) { activeTypeIndex.value=index } </script> <template> <div class="filter-main"> <div class="filter-main-left"> <div class="filter-type-item" :class="{active: item === activeTypeIndex}" v-for="item in 20" :key="item" @click="onTypeItemClick(item)"> <div class="item-name">传送点</div> <div class="item-count">3</div> </div> </div> <div class="filter-main-right"></div> </div> </template> <style> //... .active { background-image: url("../assets/images/ui/filter-item-dec.png"), url("../assets/images/ui/filter-item-dec2.png"); background-size: 5px 100%, 24px 100%; background-position: 0 0, 5px 0; background-repeat: no-repeat; background-color: #3b4354; //将文字往右边推一点空间,显示出动态 padding: 16px 20px; color: #d3bc8e !important; } </style>
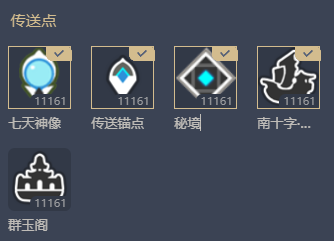
标点列表展示 实现这部分内容首先分析数据结构需要用两个数组 可先完成UI界面搭建,即在filter-main-right部分编写代码
1 2 3 <div class="filter-main-right"> <!-- 此处编写 ...--> </div>
搭建好基本结构
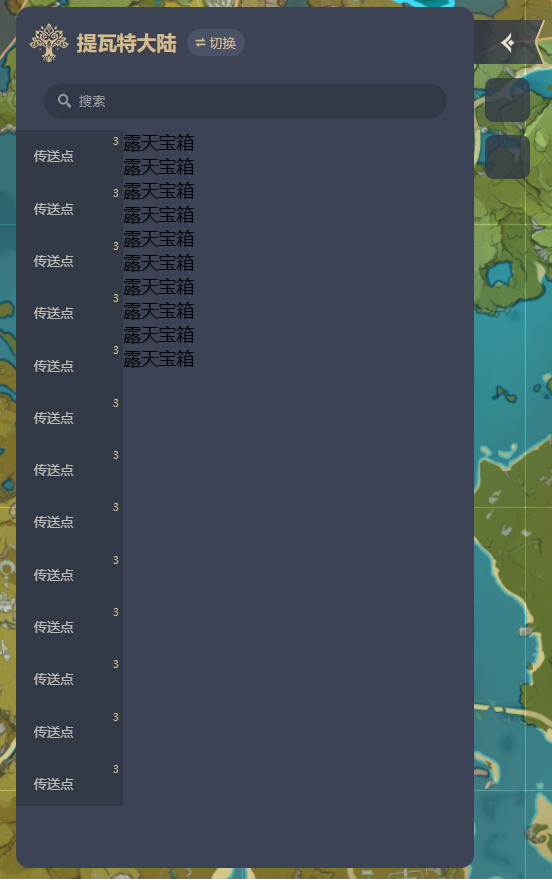
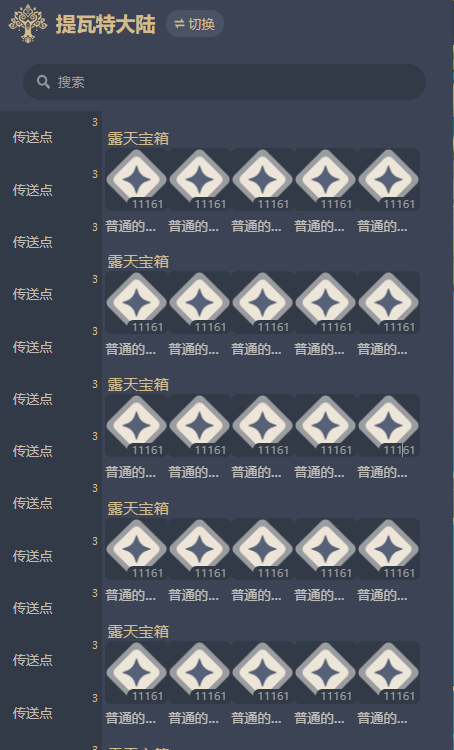
1 2 3 4 5 6 7 <div class="filter-main-right"> <div class="filter-content-item" v-for="i in 10" :key = "i"> <div class="content-head"> <div class="head-title">露天宝箱</div> </div> </div> </div>
1 2 3 4 5 6 7 8 9 10 11 12 13 14 15 16 17 <style> .filter-main-right{ flex: 1; padding: 0 3px; } .filter-content-item{ } .content-head{ padding: 16px 0 0 2px } .head-title{ color: #d3bc8e; font-size: 14px; } </style>
完成title部分继续完善body部分 完成列表布局
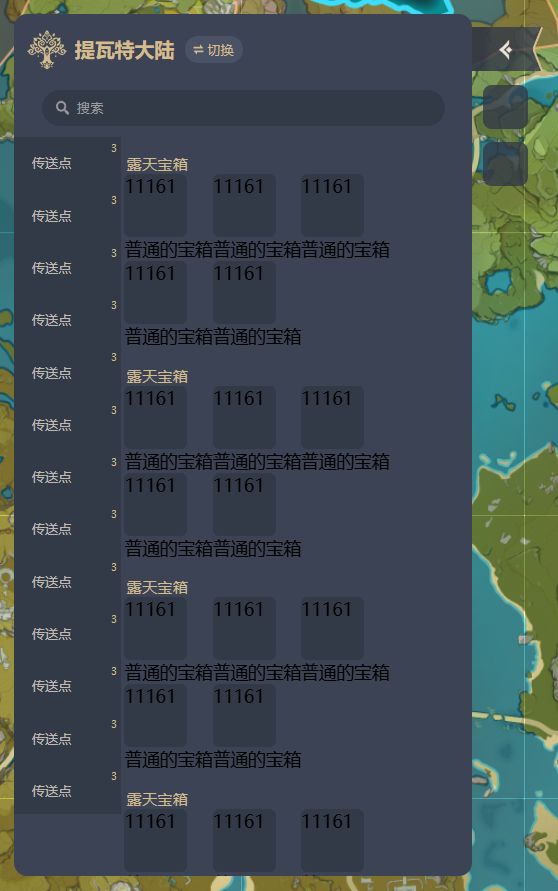
1 2 3 4 5 6 7 8 9 10 11 12 13 14 .content-body{ display: flex; flex-wrap: wrap; } .content-item{ } .item-icon-container{ position: relative; width: 57px; height:57px; border-radius: 6px; background: #323947; }
完成item角标布局
1 2 3 4 5 6 7 8 9 10 11 .icon-count{ position: absolute; font-size: 10px; right: 0; bottom: 0; line-height: 13px; color: #9b9c9f; background-color: #323947; padding: 0 4px; border-radius: 6px 0 6px 0; }
完成列表文字布局
1 2 3 4 5 6 7 8 9 .content-item-name{ margin-top: 5px; font-size:12px; color: hsla(39, 34%, 89%, 0.75); max-width: 57px; overflow: hidden; white-space: nowrap; text-overflow: ellipsis; }
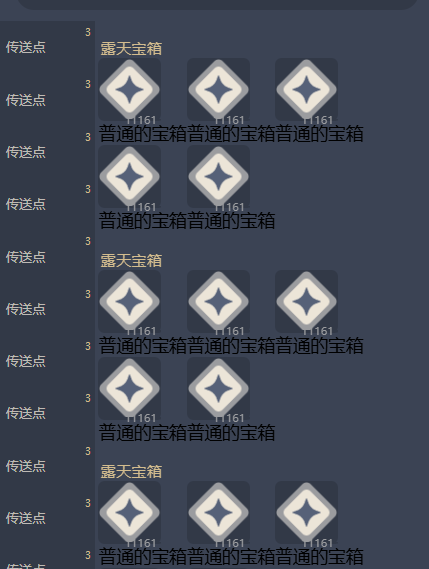
然后给content-body以及content-item加margin以美化显示效果
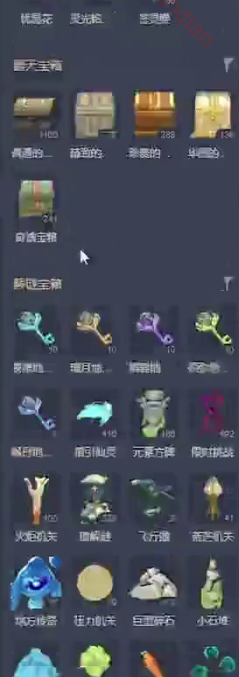
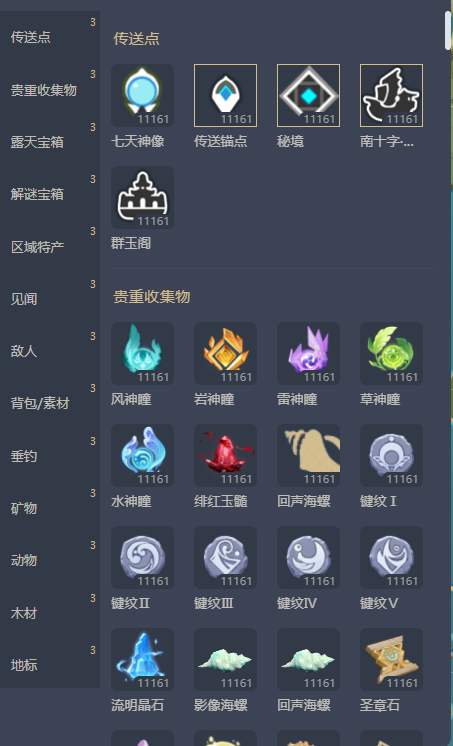
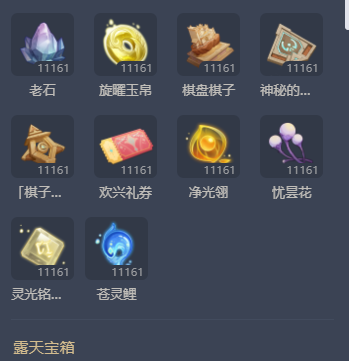
部分美化效果没有写全,最终效果如下图所示
添加滚动
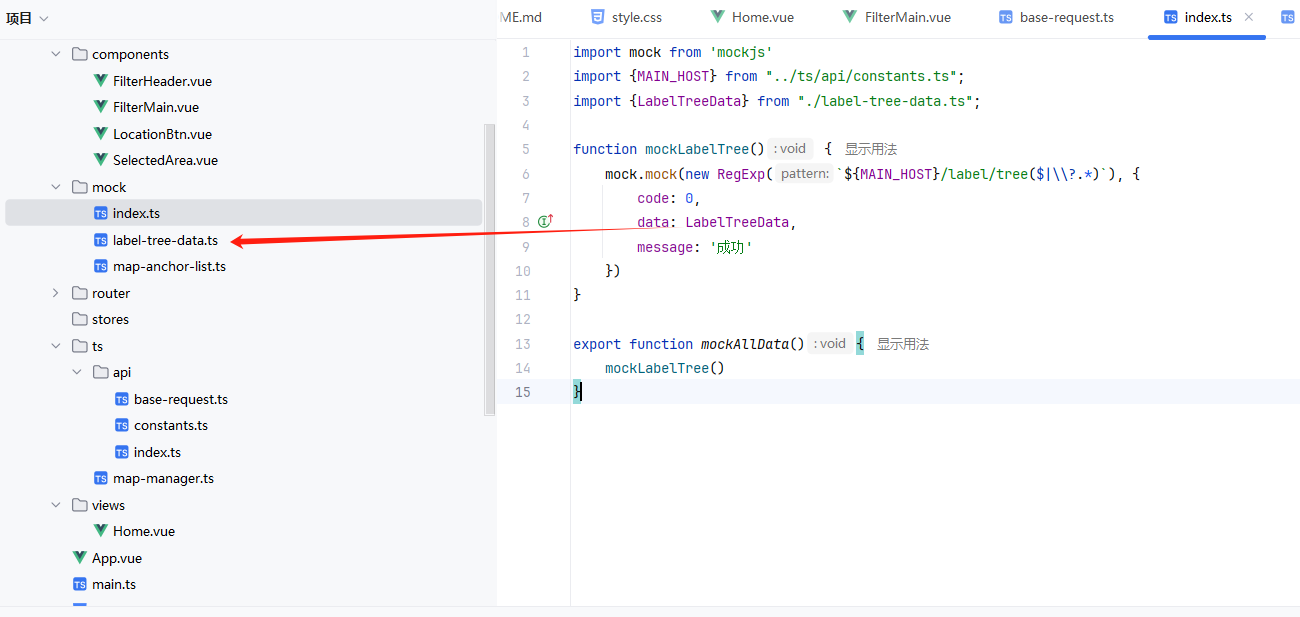
axios及mockjs引入 封装axios请求,建立一下目录结构:
1 2 3 4 5 6 7 8 9 10 11 12 13 14 15 16 17 18 19 20 21 22 23 24 import axios, {type AxiosInstance } from "axios" ;export class BaseRequest { private axiosInst : AxiosInstance ; constructor (host : string ) { this .axiosInst = axios.create ({ baseURL : host, withCredentials : true , headers : { 'Content-Type' : 'application/json' , }, timeout : 15000 , }) } sendRequest (method : string , path : string , params : any = null , data : any = null ): AxiosInstance { return this .axiosInst .request ({method, url :path, params,data}) } }export const mainRequest = new BaseRequest ('http://127.0.0.1/map' )
1 2 3 4 5 6 import {mainRequest} from "./base-request.ts" ;export function getMapFilterTree ( ){ return mainRequest.sendRequest ('get' , '/label/tree' ) }
withCredentials字段解读:有些时候我们会发一些跨域请求,比如 domain-a.com 站点发送一个 api.domain-b.com/get 的请求,默认情况下,浏览器会根据同源策略限制这种跨域请求,但是可以通过 CORS (opens new window)技术解决跨域问题。
widthCredentials在同源下(相同域下是无效的),也就是相同域下都会请求写在cookie。
在同域的情况下,我们发送请求会默认携带当前域下的 cookie,但是在跨域的情况下,默认是不会携带请求域下的 cookie 的,比如 domain-a.com 站点发送一个 api.domain-b.com/get 的请求,默认是不会携带 api.domain-b.com 域下的 cookie,如果我们想携带(很多情况下是需要的),只需要设置请求的 xhr 对象的 withCredentials 为 true 即可。
跨域情况下,需要携带请求域下的cookie那么就需要配置xhr对象的withCredentials。
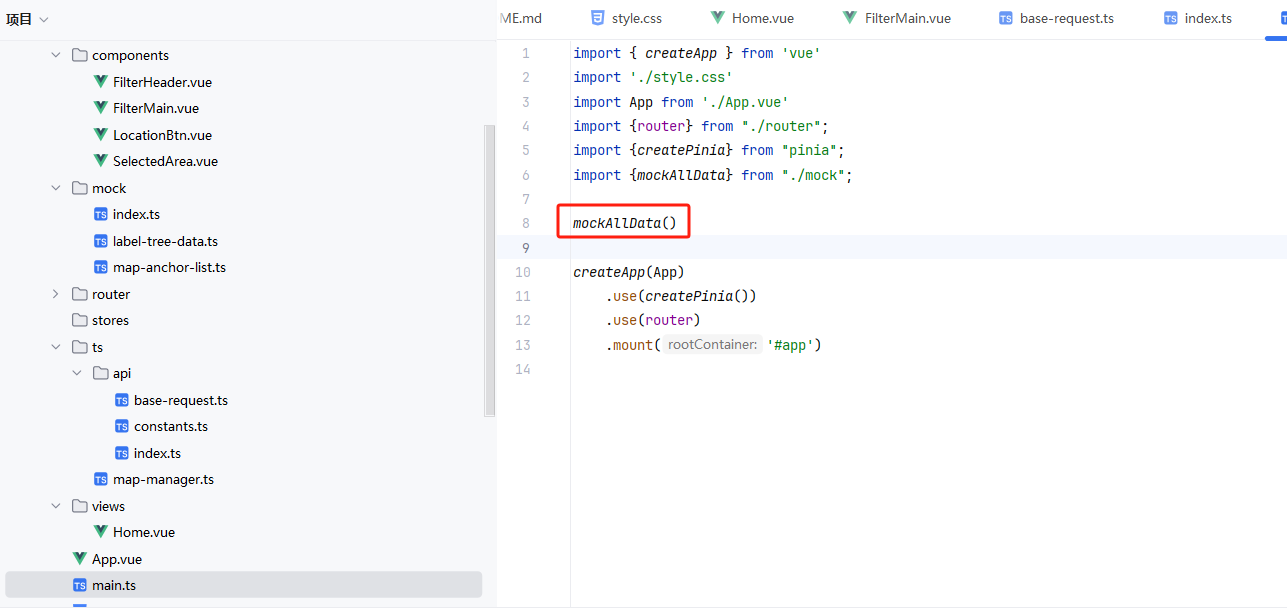
然后在@/mock/index.ts下面引入mock,并在main.ts中执行mock 执行后正确输出响应内容,但是data部分需要优化 切换到@/ts/api/base-request.ts文件,修改sendRequest方法为:
1 2 3 4 5 6 7 8 9 10 11 sendRequest (method : string , path : string , params : any = null , data : any = null ): AxiosInstance { return new Promise ((resolve, reject )=> { this .axiosInst .request ({method, url :path, params,data}) .then ((res )=> { resolve (res.data ) }) .catch (reject) }) }
替换静态标点列表 根据请求数据结构替换template中的占位数据就行。此处掠过 接下来开发标点选中功能 通过给响应式数据添加属性的方式确定被选中的元素,所以在content-item上添加点击事件,并将传进来的数据用Reflecct.set设置属性
1 2 3 function onFilterItemClick (child : any ){ Reflect .set (child, 'active' , !child.active ) }
然后给itemActive添加CSS属性,使用after伪类添加边框
1 2 3 4 5 6 7 8 9 10 11 12 .itemActive .item-icon-container::after{ position: absolute; display: block; content: ''; top: 0; left: 0; width: 100%; height: 100%; border: 0.5px solid #d3bc8e; box-sizing: border-box; z-index: 2; }
完善细节,添加selected-icon
1 2 3 4 5 6 7 8 9 10 11 12 13 14 15 16 17 18 19 20 <template> //... <div class="item-icon-container"> <div :style="{backgroundImage: `url(${child.icon})`}" class="icon-pic"></div> <div class="icon-count">11161</div> <div class="selected-icon" v-if="child.active" ></div> </div> </template> <style> .selected-icon{ position: absolute; top: 0; right: -1px; width: 24px; height: 14px; background-image: url("../assets/images/ui/select-icon.png"); background-size: cover; } </style>
接着联动左侧筛选列表的右上角标点选中数量。 在item-count处添加getActiveCount函数。统计思路即为统计所有child中active的数量
1 2 3 4 5 6 7 8 9 10 11 12 13 14 15 16 17 18 19 20 21 <script> function getActiveCount(item: any){ let res = 0 for (let i = 0; i < item.children.length; i++) { let child = item.children[i] if(child.active){ res++ } } return res } </script> <template> <div class="filter-main-left"> <div v-for="item in filterTree" :key="item.id" :class="{active: item === activeTypeIndex}" class="filter-type-item" @click="onTypeItemClick(item)"> <div class="item-name">{{item.name}}</div> <div class="item-count" v-if="getActiveCount(item) != 0">{{getActiveCount(item)}}</div> </div> </div> </template>
然后实现选中左侧筛选列表是右侧滚动到指定区域,使用scrollIntoView方法即可 首先需要标记滚动锚点,我们在filter-content-item上使用filterContentItem${index}做滚动锚点 然后在onTypeItemClick事件中添加响应的处理事件
1 2 3 4 5 function onTypeItemClick(index: number) { activeTypeIndex.value = index document.querySelector(`#filterContentItem${index}`)?.scrollIntoView({behavior: 'smooth'}) }
BUG修复:Flex元素最后一行靠左显示 由于flex容器的justify-content的值设置为space-bewteen,当容器类元素数量大于1且小于4时会导致布局异常,如下图 为了解决这个问题,可以在容器上添加::after伪类并设flex为1或auto解决
1 2 3 4 .content-body::after{ content: ''; flex: 1; }
可参考:让CSS flex布局最后一行列表左对齐的N种方法
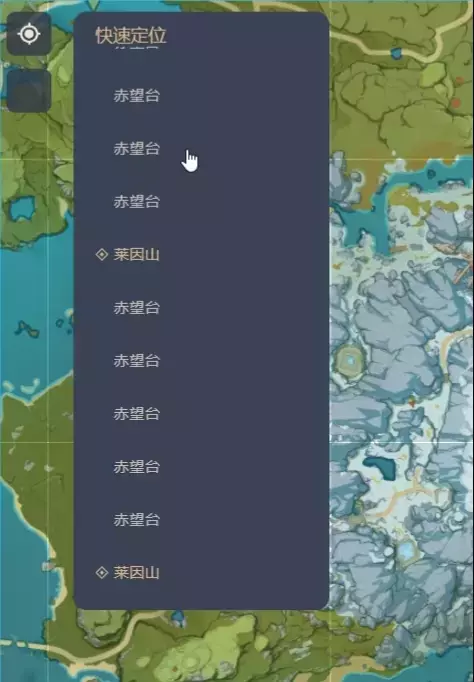
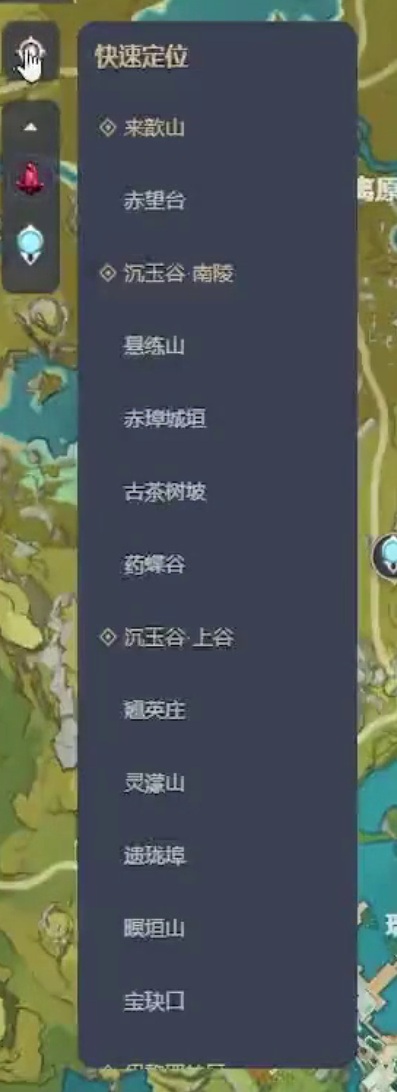
快速定位展示 本节开发 转到LocationBtn组件首先绘制UI部分。
1 2 3 4 5 6 7 8 9 10 11 12 13 14 15 16 17 18 19 20 21 22 23 24 25 26 27 28 29 30 31 32 33 34 35 36 37 38 39 40 41 42 43 44 45 46 47 48 49 50 51 52 53 54 55 56 57 58 59 60 61 62 63 64 65 66 67 68 69 70 71 72 73 74 75 76 77 78 79 80 81 82 83 84 85 86 87 88 89 90 91 92 93 94 95 96 97 98 99 100 101 102 103 104 <script lang="ts" setup> </script> <template> <div class="location-btn"> <div class="location-icon"> </div> <div class="location-content"> <div class="location-title"> 快速定位 </div> <div class="content-areas"> <div class="area-item" v-for="item in 10" :key="item"> <div class="area-parent"> <div class="parent-icon"></div> <div class="parent-name">莱因山</div> </div> <div class="area-child" v-for="i in 5":key="i">赤望台</div> </div> </div> </div> </div> </template> <style scoped> .location-btn { position: absolute; top: 84px; right: -30px; width: 40px; height: 40px; background-color: rgba(50, 57, 71, 0.8); border-radius: 8px; cursor: pointer; display: flex; justify-content: center; align-items: center; } .location-btn:hover .location-content { visibility: visible; } .location-icon{ height: 24px; width: 24px; background-image: url("../assets/images/ui/location-btn.png"); background-size: cover; } .location-content{ transition: all 0.5s ease; visibility: hidden; position: absolute; top: 0; width: 192px; padding: 10px 20px; left: 60px; background-color: #3b4354; border-radius: 12px; } .location-title{ font-size: 16px; color: #d3bc8e; } .content-areas{ height: 500px; overflow-y: auto; } .content-areas::-webkit-scrollbar { display: none; } .area-item{ } .area-parent{ display: flex; align-items: center; height: 48px; } .area-parent:hover .parent-name,.area-child{ color: #ece5d8; } .area-parent:hover .parent-icon{ background-image: url("../assets/images/ui/location-icon-h.png"); } .parent-icon{ width: 12px; height: 12px; background-image: url("../assets/images/ui/location-icon-n.png"); background-size: cover; margin-right: 5px; } .parent-name{ color: #d3bc8e; font-size: 14px; } .area-child{ display: flex; align-items: center; height: 48px; color: hsla(39, 34%, 89%, 0.75); padding: 0 17px; font-size: 14px; } </style>
难点:在location-btn进行hover时,快速定位面板因为visibility的属性会消失的很快。所以可以用一个小技巧,在location-content处添加transition: all 0.5s ease;
这样hover在location-btn的时候再移出,location-content面板就不会立马消失了
最终效果:
最后对快速定位模块接入接口
1.编写接口mock
1 2 3 4 5 6 7 8 9 10 11 12 13 14 15 function mockMapAnchorList ( ) { mock.mock (new RegExp (`${MAIN_HOST} /map_anchor/list($|\\?.*)` ), { code : 0 , data : MapAnchorList , message : '成功' }) }export function getMapAnchorList ( ){ return mainRequest.sendRequest ('get' , '/map_anchor/list' ) }
2.替换静态数据为动态数据 (略
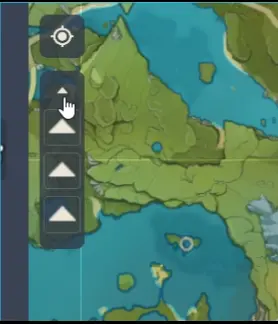
已选中区域开发 1.ui搭建 转至selectedArea组件,进行静态页面搭建
1 2 3 4 5 6 7 8 9 10 11 12 13 14 15 16 17 18 19 20 21 22 23 24 25 26 27 28 29 30 31 32 33 34 35 36 37 38 39 40 41 42 43 44 <template> <div class="selected-area"> <div class="selected-count">2</div> <div class="selected-icon"> </div> </div> </template> <style scoped> .selected-area { position: absolute; top: 136px; right: -30px; width: 40px; height: 40px; background-color: rgba(50, 57, 71, 0.8); border-radius: 8px; cursor: pointer; display: flex; justify-content: center; align-items: center; } .selected-count{ position: absolute; top: -4px; right: -4px; background-color: #ff5e41; height: 12px; width: 12px; text-align: center; line-height: 12px; font-size: 11px; border-radius: 6px; padding: 0 3px; color: #ece5d8; } .selected-icon { width: 24px; height: 24px; background-image: url("../assets/images/ui/cart-icon.png"); background-size: cover; } </style>
效果展示: 接着开发下拉列表,开发之前可以先将selected-count与selected-icon部分注释掉 下拉列表代码:
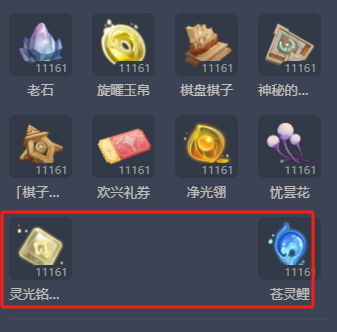
1 2 3 4 5 6 7 8 9 10 11 12 13 14 15 16 17 18 19 20 21 22 23 24 25 26 27 28 29 30 31 32 33 34 35 36 37 38 39 40 41 42 43 44 45 46 47 48 49 50 51 52 53 54 55 56 57 58 59 60 61 62 63 64 65 66 67 68 69 70 71 72 73 74 75 76 77 78 79 80 81 82 83 84 85 86 87 88 89 90 <template> <div class="selected-area"> <!-- <div class="selected-count">2</div>--> <!-- <div class="selected-icon">--> <!-- </div>--> <div class="list-container"> <div class="up-container"> <div class="up-icon"> </div> </div> <div class="selected-item" v-for="item in 3" :key="item"> <div class="item-container"> <div class="item-icon"></div> </div> <div class="icon-delete"></div> </div> </div> </div> </template> <style scoped> .selected-area { position: absolute; top: 136px; right: -30px; width: 40px; height: fit-content; padding: 12px 0; background-color: rgba(50, 57, 71, 0.8); border-radius: 8px; cursor: pointer; display: flex; justify-content: center; align-items: center; } .up-container{ margin-bottom: 8px; display: flex; justify-content: center; } .up-icon{ width: 12px; height: 12px; background-image: url("../assets/images/ui/arrow-top.png"); background-size: cover; } .selected-item{ width: 40px; height: 40px; display: flex; justify-content: center; align-items: center; cursor: pointer; position: relative; } .selected-item:hover .item-container{ border-color: #d3bc8e; } .selected-item:hover .icon-delete{ display: block; } .item-container{ width: 32px; height: 32px; display: flex; justify-content: center; align-items: center; border-radius: 4px; border: 1px solid hsla(0, 0%, 100%, 0.16); overflow: hidden; } .icon-delete{ display: none; position: absolute; top: 0; right: 2px; width: 12px; height: 12px; background-repeat: no-repeat; background-position: 50%; background-size: 100%; background-image: url("../assets/images/ui/delete-icon.svg"); } .item-icon{ width: 100%; height: 100%; background-size: cover; background-image: url("../assets/images/ui/arrow-top.png"); }
接着编写交互逻辑 因为涉及到不同组件的数据交流,所以使用pinia进行管理
创建home.ts文件,对filterTree进行封装
1 2 3 4 5 6 7 8 9 10 11 12 13 14 15 16 17 18 19 20 21 22 23 24 25 26 27 28 29 30 31 32 33 import {defineStore} from "pinia" ;import {ref, watch} from "vue" ;export const useHomeStore = defineStore ('home' , () => { const filterTree = ref<any []>([]) const selectedFilterItems = ref<any []>([]) watch (filterTree, ()=> { calcSelectedFilterItems () },{deep : true }) function setFilterTree (data : any [] ) { filterTree.value = data } function calcSelectedFilterItems ( ){ let res : any [] = [] for (let i = 0 ; i < filterTree.value .length ; i++){ const item = filterTree.value [i] const activeItems = item.children .filter ((child : any )=> { return child.active }) res = res.concat (activeItems) } selectedFilterItems.value = res console .log (selectedFilterItems) } return { filterTree, setFilterTree } })
然后在FilterMain.vue中更改filterTree的数据源
1 2 3 4 5 6 7 8 <script> const {filterTree} = storeToRefs(store) //... async function init(){ const res = await getMapFilterTree() store.setFilterTree(res.data) } </script>
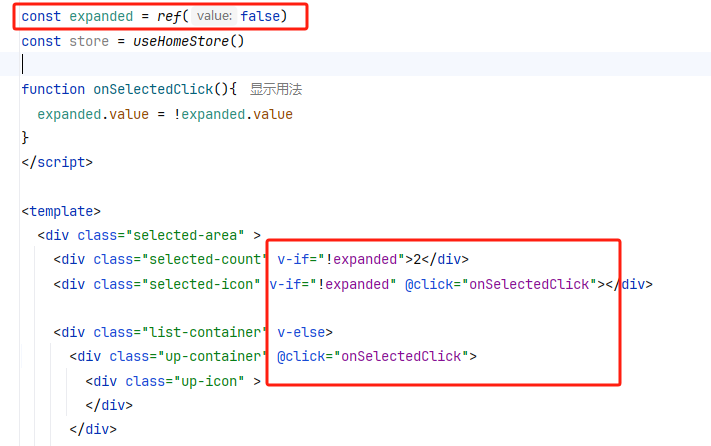
打印验证程序正常后即可在SelectedArea.vue组件中引入。在实现左右组件联动之前可以先实现展开与关闭的逻辑 效果展示:
继续实现数据渲染逻辑
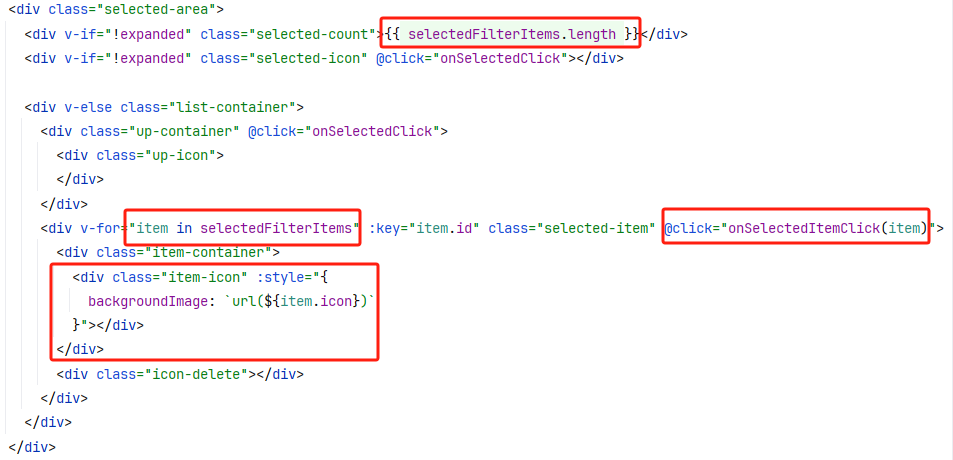
1 2 3 4 5 6 7 8 9 10 11 12 13 14 15 16 17 18 19 20 21 <template> <div class="selected-area" v-if="selectedFilterItems.length > 0"> <div v-if="!expanded" class="selected-count">{{ selectedFilterItems.length }}</div> <div v-if="!expanded" class="selected-icon" @click="onSelectedClick"></div> <div v-else class="list-container"> <div class="up-container" @click="onSelectedClick"> <div class="up-icon"> </div> </div> <div v-for="item in selectedFilterItems" :key="item.id" class="selected-item" @click="onSelectedItemClick(item)"> <div class="item-container"> <div class="item-icon" :style="{ backgroundImage: `url(${item.icon})` }"></div> </div> <div class="icon-delete"></div> </div> </div> </div> </template>
最后注意删除选中项的逻辑为
1 2 3 4 function onSelectedItemClick (item ){ Reflect .set (item, 'active' , false ) }
效果展示: