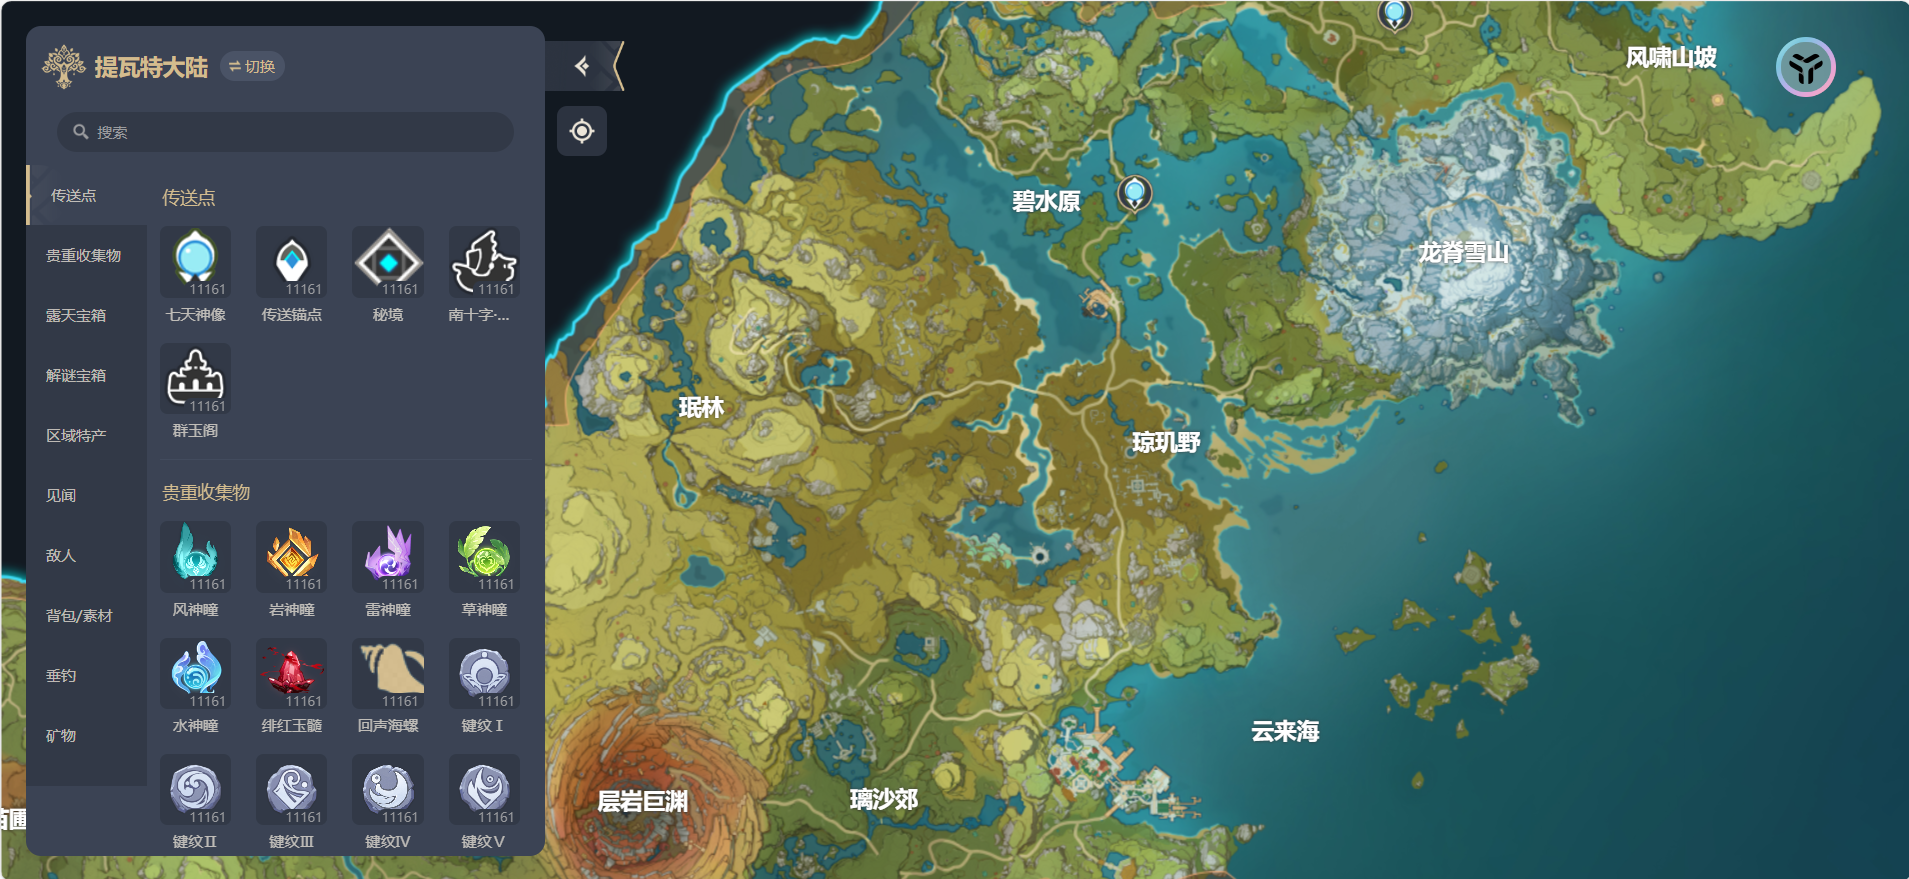
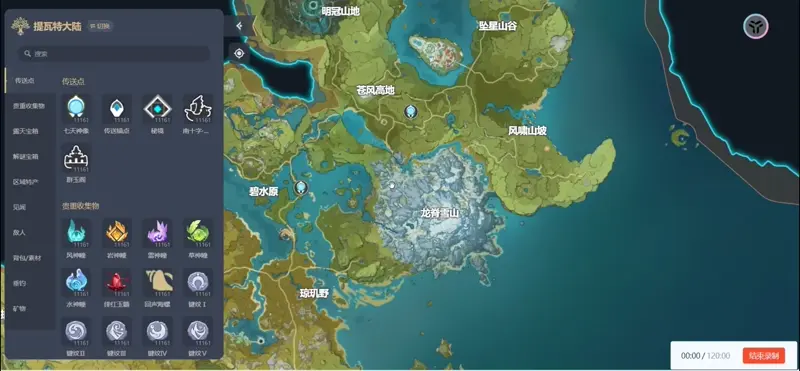
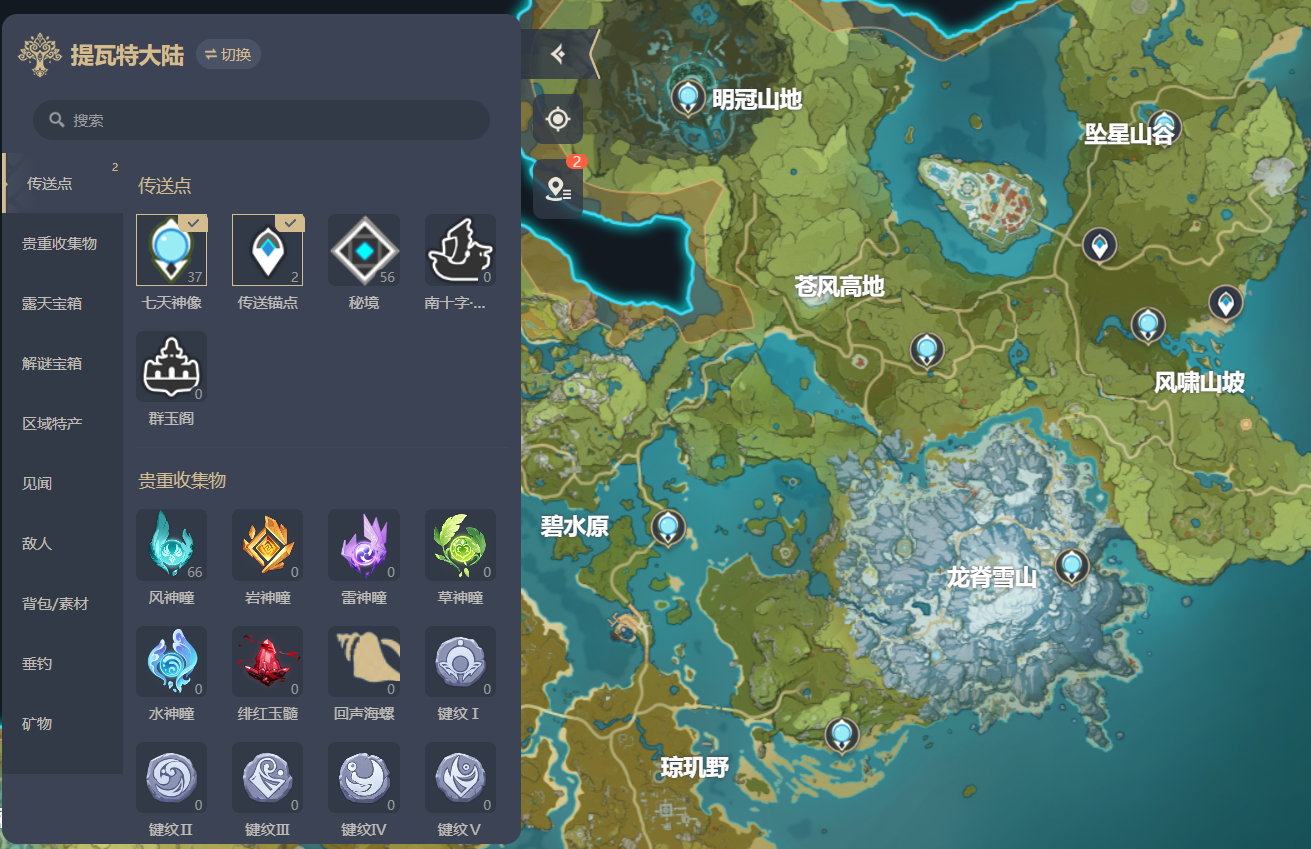
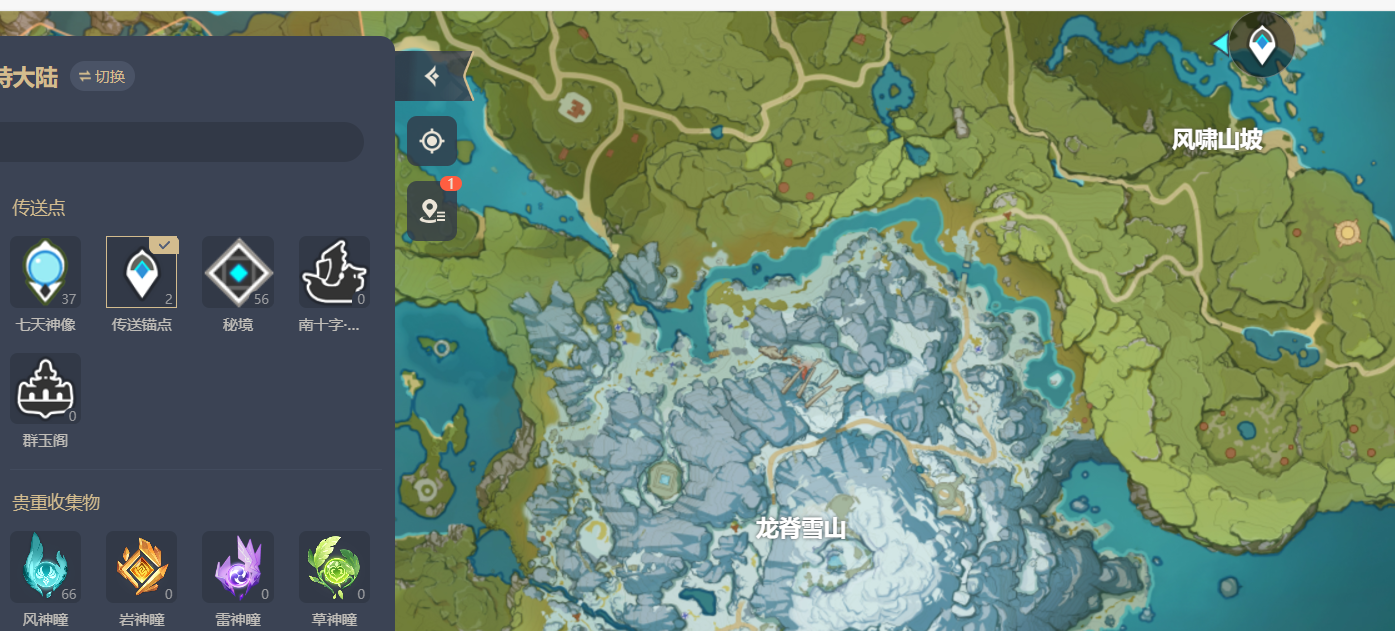
地名动态渲染 实现根据地图缩放大小不同,地名展示也不同。
1
2
3
function setMapAnchorList (data : any []value = data
将其他组件中的mapAnchorList ref替换为store中的ref。然后渲染一级地名
1
2
3
4
5
6
7
8
9
10
11
12
13
14
15
16
17
18
19
20
21
22
23
24
25
26
27
28
29
30
31
32
33
34
35
36
renderAreaNames (let markers : L.Marker [] = []if (this .map .getZoom () >= 6 ) {this .mapAnchorList .forEach ((val ) => {let childrenList : L.Marker [] = []children .map ((val ) => {const {lat, lng, name} = valconst marker = L.marker (L.latLng ([lat, lng,]), {icon : L.divIcon ({className : 'map-marker-item' ,html : `<div class="area-mark-item">${name} </div>` return markerconcat (childrenList)else {this .mapAnchorList .map ((item ) => {const {lat, lng, name} = itemconst marker = L.marker (L.latLng ([lat, lng,]), {icon : L.divIcon ({className : 'map-marker-item' ,html : `<div class="area-mark-item">${name} </div>` return markerthis .areaNameLayerGroup = L.layerGroup (markers)this .areaNameLayerGroup .addTo (this .map )
至此实现效果:但实际没有 。所以需要修复这个BUG
1
2
3
4
5
6
7
8
9
getAreaNameMakerItem (config : AreaNameConfig const {lat, lng, name} = configreturn L.marker (L.latLng ([lat, lng,]), {icon : L.divIcon ({className : 'map-marker-item' ,html : `<div class="area-mark-item">${name} </div>`
同时重构renderAreaNames
1
2
3
4
5
6
7
8
9
10
11
12
13
14
15
16
17
18
renderAreaNames (this .areaNameLayerGroup ?.clearLayers ()let markers : L.Marker [] = []if (this .map .getZoom () >= 6 ) {this .mapAnchorList .forEach ((val ) => {let childrenList : L.Marker [] = []children .map (this .getAreaNameMakerItem )concat (childrenList)else {this .mapAnchorList .map (this .getAreaNameMakerItem )this .areaNameLayerGroup = L.layerGroup (markers)this .areaNameLayerGroup .addTo (this .map )
到此就正常展示地名了,但是有一个性能问题,当zoom在6,7内反复时。leaflet会不断重复渲染,实际上是没必要的。所以渲染逻辑改为当zoom处于一级与二级缩放临界值时才进行重渲染。
1
2
3
4
5
6
7
8
9
this .map .on ('zoom' , (event ) => {const curZoom = this .map .getZoom ()if (curZoom >= 6 != this .prevZoom >=6 ){console .log ('render' )this .renderAreaNames ()this .prevZoom = curZoom
最终效果:
标点动态渲染 在UI界面选择了标点后在地图上显示相应的标点
1
2
3
4
5
6
7
8
9
10
11
12
13
14
15
16
17
18
19
20
21
function calcSelectedFilterItems (let res : any [] = []let pointList : any [] = [] for (let i = 0 ; i < filterTree.value .length ; i++){const item = filterTree.value [i]const activeItems = item.children .filter ((child : any {return child.active forEach ((item )=> {const points : any = item.children .map ((val ) => { return {icon : item.icon concat (points)concat (activeItems)value = res
接着创建用于通信的全局变量
1 2 3 4 5 6 7 8 9 10 11 12 13 14 15 16 17 18 19 import {MapManager } from "./map-manager.ts" ;class GlobalData {private static instance : GlobalData ;private constructor (public static getInstance (): GlobalData {if (!GlobalData .instance ){GlobalData .instance = new GlobalData ();return GlobalData .instance ;public mapManager : MapManager ;export const globalDataInst = GlobalData .getInstance ()
将mapManger存入global变量后再在calcSelectedFilterItems函数内合适的位置渲染标点
1
2
3
if (globalDataInst.mapManager ) {mapManager .renderPoints (pointList)
最后在renderPoints中添加this.pointerMarkersLayerGroup?.clearLayers()以实现取消标点选择时在地图上清空未选中的标点
地图缩放条功能 使用已有的插件:Leaflet.zoomslider npm i leaflet.zoomslider
引入插件this.map.addControl(new L.control.Zoomslider())
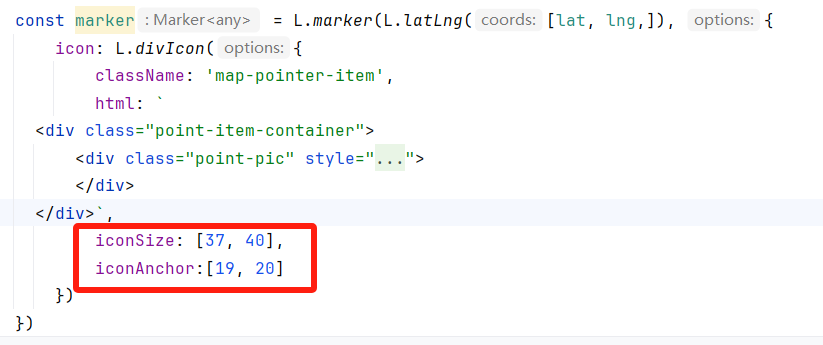
修复标点偏移BUG 地图在放大时默认情况下标点会基于左上角定位,也即是在放大时标点会一直往左上角偏移,所以我们重新定位标点的锚点
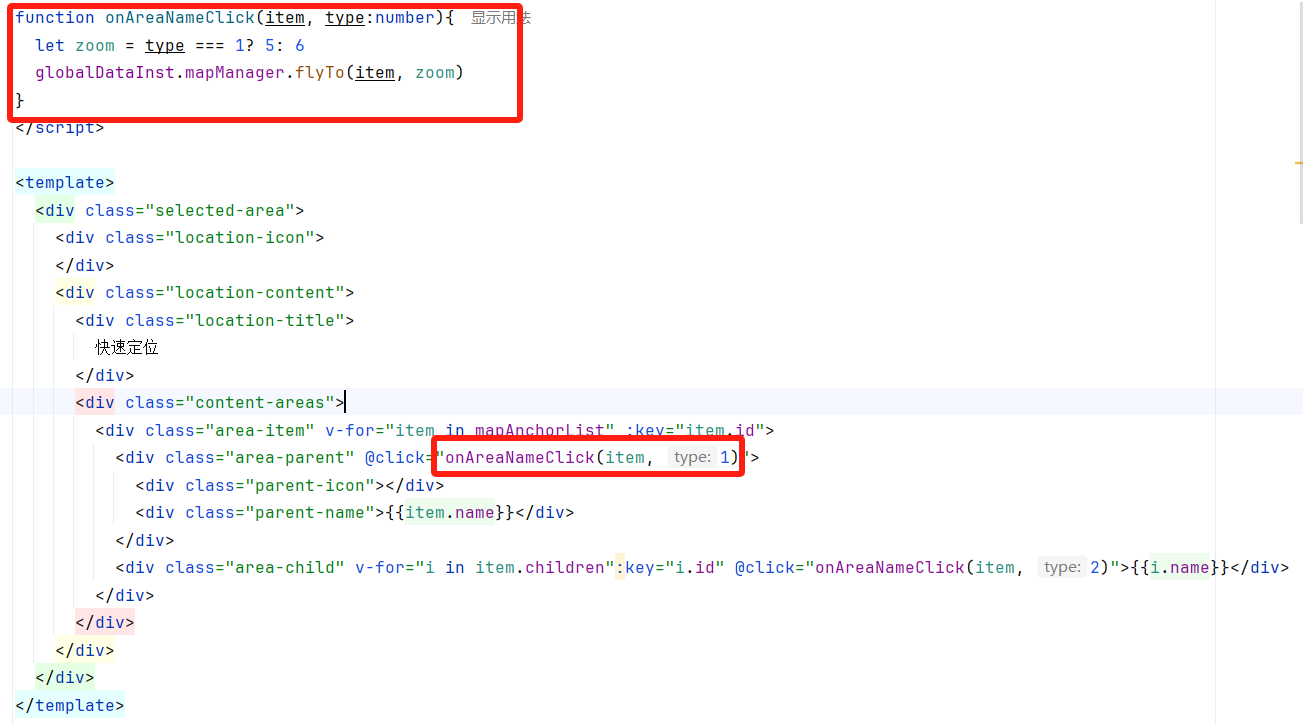
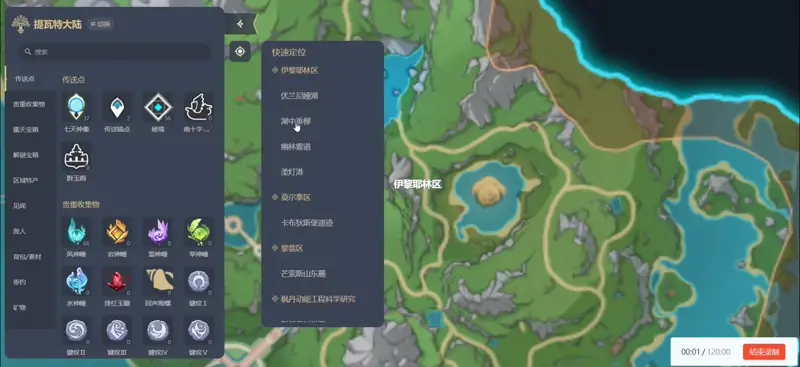
地图快速定位 在LocationBtn中添加对应的事件即可
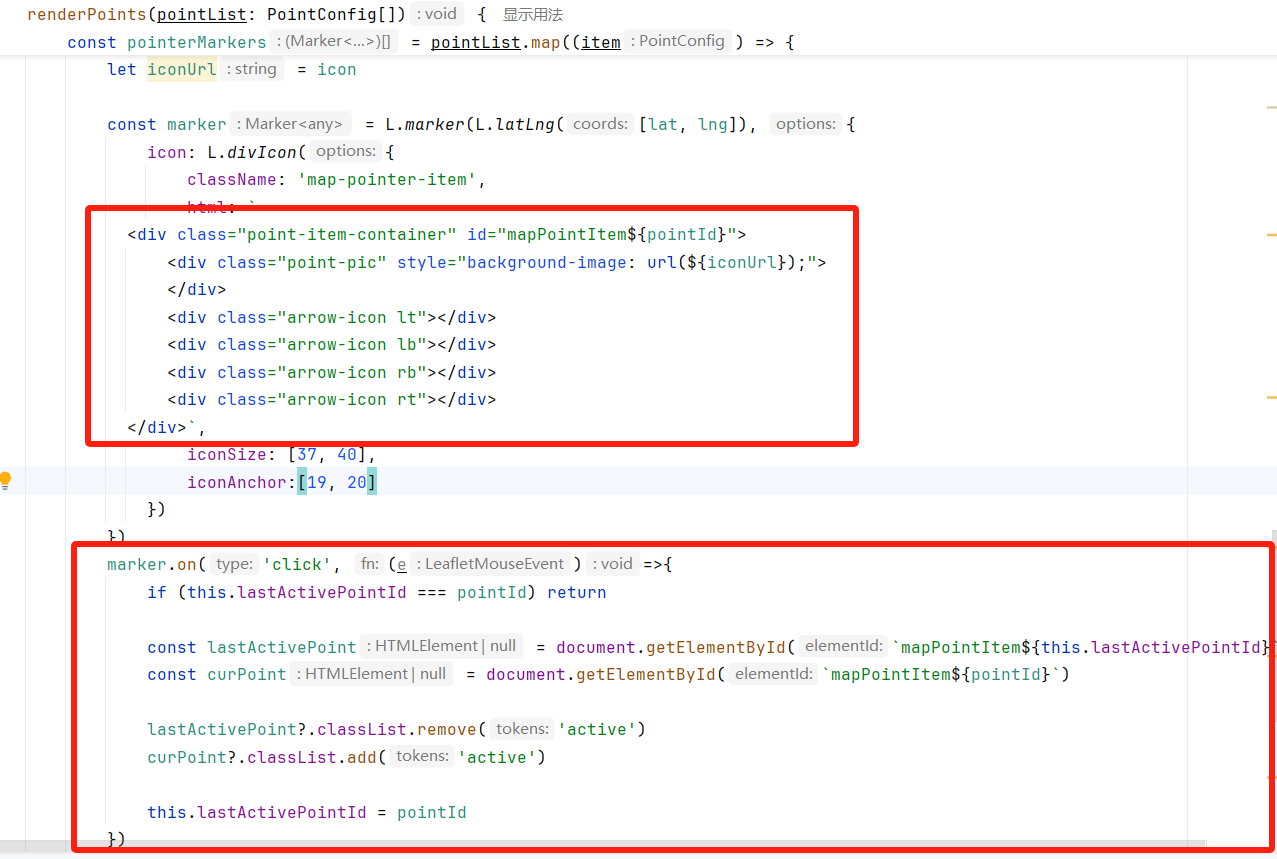
标点点点击选中态 首先为每个icon数据赋予唯一ID,然后根据id上是否由active类来更改样式
然后编写样式,一个角的图片通过旋转操作变成四个角
1 2 3 4 5 6 7 8 9 10 11 12 13 14 15 16 17 18 19 20 21 22 23 24 25 26 :deep (.arrow-icon){position : absolute;display : none;width : 10px ;height : 10px ;background-image : url ("../assets/images/map/arrow-l.png" );deep (.arrow-icon.lb){left : 0 ;bottom : 6px ;deep (.arrow-icon.lt){left : 0 ;transform : scaleY (-1 );top : -5px ;deep (.arrow-icon.rb){right : 0 ;transform : scaleX (-1 );bottom : 6px ;deep (.arrow-icon.rt){right : 0 ;transform : scale (-1 );top : -5px ;
最终效果:
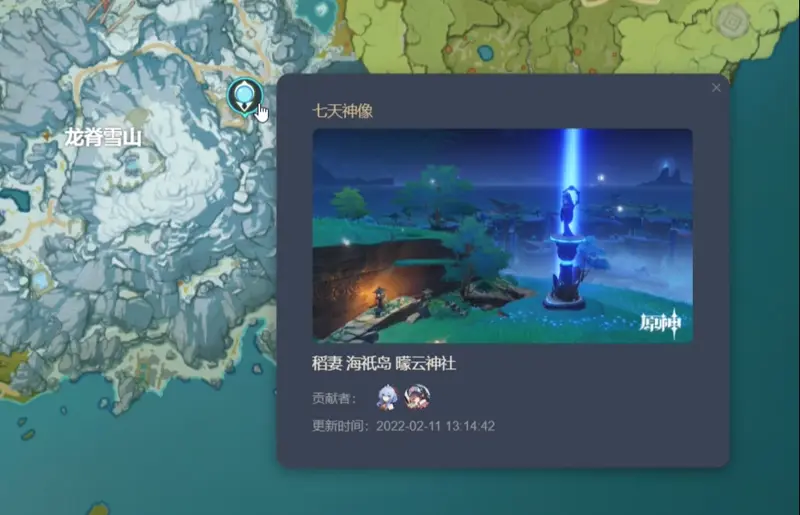
标点点击弹窗 使用popup 实现弹窗功能
1 2 3 4 5 6 7 8 9 10 11 12 13 14 15 16 17 18 marker.bindPopup (L.popup ({content :`<div class="point-popup-container"> <div class="popup-title">传送锚点</div> <div class="popup-pic" style="background-image: url('https://webstatic.mihoyo.com/upload/wiki-ys-map/2023/01/18/306126220/a2c132b651daf17b7444bc575f2fa04d_790168931618739974.png?x-oss-process=image%2Fresize%2Cw_600%2Fquality%2CQ_90%2Fformat%2Cwebp')"></div> <div class="point-name">传送锚点(蒙德)</div> <div class="contributor-container"> <div class="contributor-label">贡献者:</div> <div class="avatar-container"> <div class="avatar-item" style="background-image: url('https://webstatic.mihoyo.com/upload/wiki-ys-map/2023/01/18/306126220/a2c132b651daf17b7444bc575f2fa04d_790168931618739974.png?x-oss-process=image%2Fresize%2Cw_600%2Fquality%2CQ_90%2Fformat%2Cwebp')"> </div> </div> </div> <div class="point-time">更新时间:2021-09</div> </div>` maxWidth : 375
接下来添加交互逻辑
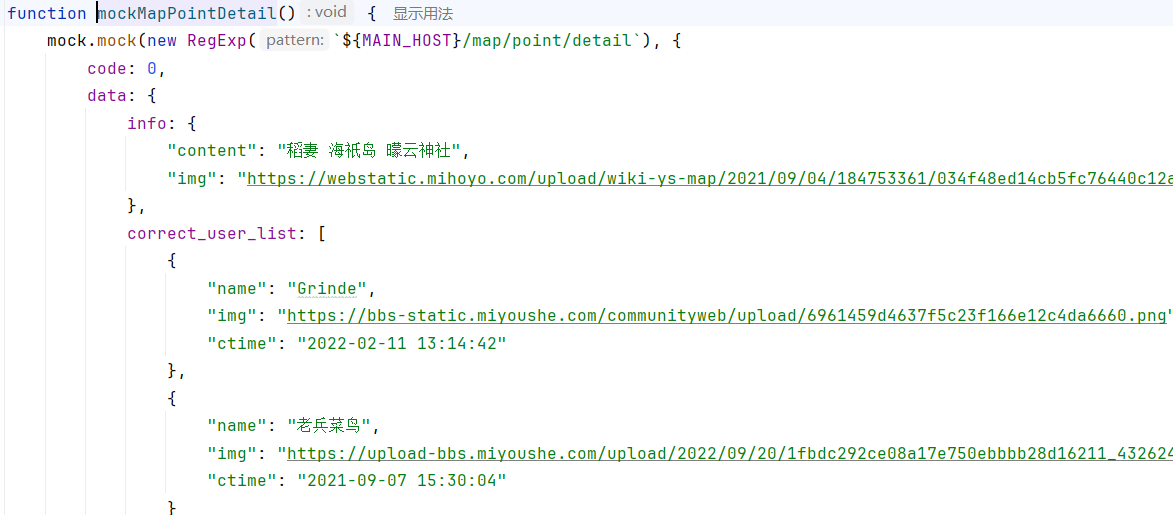
首先在mock文件中添加mock数据并封装好请求接口
1
2
3
4
5
6
7
8
9
10
11
12
13
14
15
16
17
18
19
calcPopuoContent (popupData :any const {correct_user_list, last_update_time, info} = popupDataconst avatarElmStr = correct_user_list.map ((val ) => {return `<div class="avatar-item" style="background-image: url(${val.img} )"></div>` return `<div class="point-popup-container"> <div class="popup-title">传送锚点</div> <div class="popup-pic" style="background-image: url(${info.img} )"></div> <div class="point-name">${info.content} </div> <div class="contributor-container"> <div class="contributor-label">贡献者:</div> <div class="avatar-container"> ${avatarElmStr} </div> </div> <div class="point-time">更新时间:${last_update_time} </div> </div>`
最后在marker中监听popup事件并使用marker.setPopupContent方法重设popup content
1 2 3 4 marker.on ('popupopen' , async ()=>{const res = await getMapPointDetail (pointId)setPopupContent (this .calcPopuoContent (res.data ))
注意优化关闭popup时的功能,地图上监听click事件,当popup关闭时,标点的激活态应该被移除
1
2
3
4
5
6
this .map .on ('click' , ()=> {const lastActivePoint = document .getElementById (`mapPointItem${this .lastActivePointId} ` )classList .remove ('active' )this .lastActivePointId = -1
BUG 修复: 目前的popup弹窗中左上角的标题没有被更改,在home store中的calcSelectedFilterItems需传入name: item.name,然后再在模板中渲染值
最终效果:
屏幕外标点引导 新建calcOutScreenPoints函数用于渲染屏幕外标点的引导UI
1
2
3
4
5
6
7
8
9
10
11
12
13
14
15
16
17
18
19
20
21
22
23
24
25
26
27
28
29
30
31
32
33
34
35
36
37
38
39
40
41
42
43
44
45
calcOutScreenPoints (const guideUIAry : GuideUiItem []const calcPointMap : { [key : string ]: any } = {}const center = this .map .getCenter ()for (let i = 0 ; i < this .pointList .length ; i++) {const pointItem = this .pointList [i]const {name, lat, lng} = pointItemif (!calcPointMap[name]) {if (calcPointMap[name].inScreen ) {continue const isContain = this .map .getBounds ().contains (pointItem)if (!isContain) {const dist = this .map .getCenter ().distanceTo (pointItem)if (!calcPointMap[name].pointItem ) {inScreen : false }else {const curDist = calcPointMap[name].dist if (dist < curDist) {inScreen : false }else {inScreen = true for (let key in calcPointMap) {const {inScreen, pointItem} = calcPointMap[key]if (!inScreen) {const {lat, lng, icon} = pointItemconst directionVector = {x : lng - center, y : lat - center.lat }const xVector = {x : 1 , y : 0 }const angle = calcVectorAngle (xVector, directionVector)push ({angle, icon, lat, lng})
搭建GuideMarker样式
1
2
3
4
5
6
7
8
9
10
11
12
13
14
15
16
17
18
19
20
21
22
23
24
25
26
27
28
29
30
31
32
33
34
35
36
37
38
39
40
41
42
43
44
45
46
47
48
49
50
51
52
53
54
55
56
57
58
59
60
61
62
63
64
65
66
67
<script lang="ts" setup>
GuideMarkerUI接收绘制UI事件
1
2
3
4
5
6
7
8
9
10
11
12
13
14
<script lang="ts" setup>
之前文章中的q部分代码有BUG,注意识别
编写guideUI位移计算函数
1
2
3
4
5
6
7
8
9
10
11
12
13
14
15
16
17
18
19
20
21
22
23
24
25
26
27
28
29
function calcOffsetStyle (item : any let {innerWidth, innerHeight} = window let {angle} = itemlet marginToplet marginLeftif (angle > 0 ){2 Math .tan (angle)else {2 Math .tan (angle)let finalX = `${innerWidth / 2 + marginLeft } ` let finalY = `${innerHeight / 2 - marginTop} ` Math .max (0 , finalX)Math .max (0 , finalY)Math .min (innerWidth - 53 , finalX)Math .min (innerHeight - 53 , finalY)console .log (finalY)return {transform : `translate(${finalX} px,${finalY} px)`
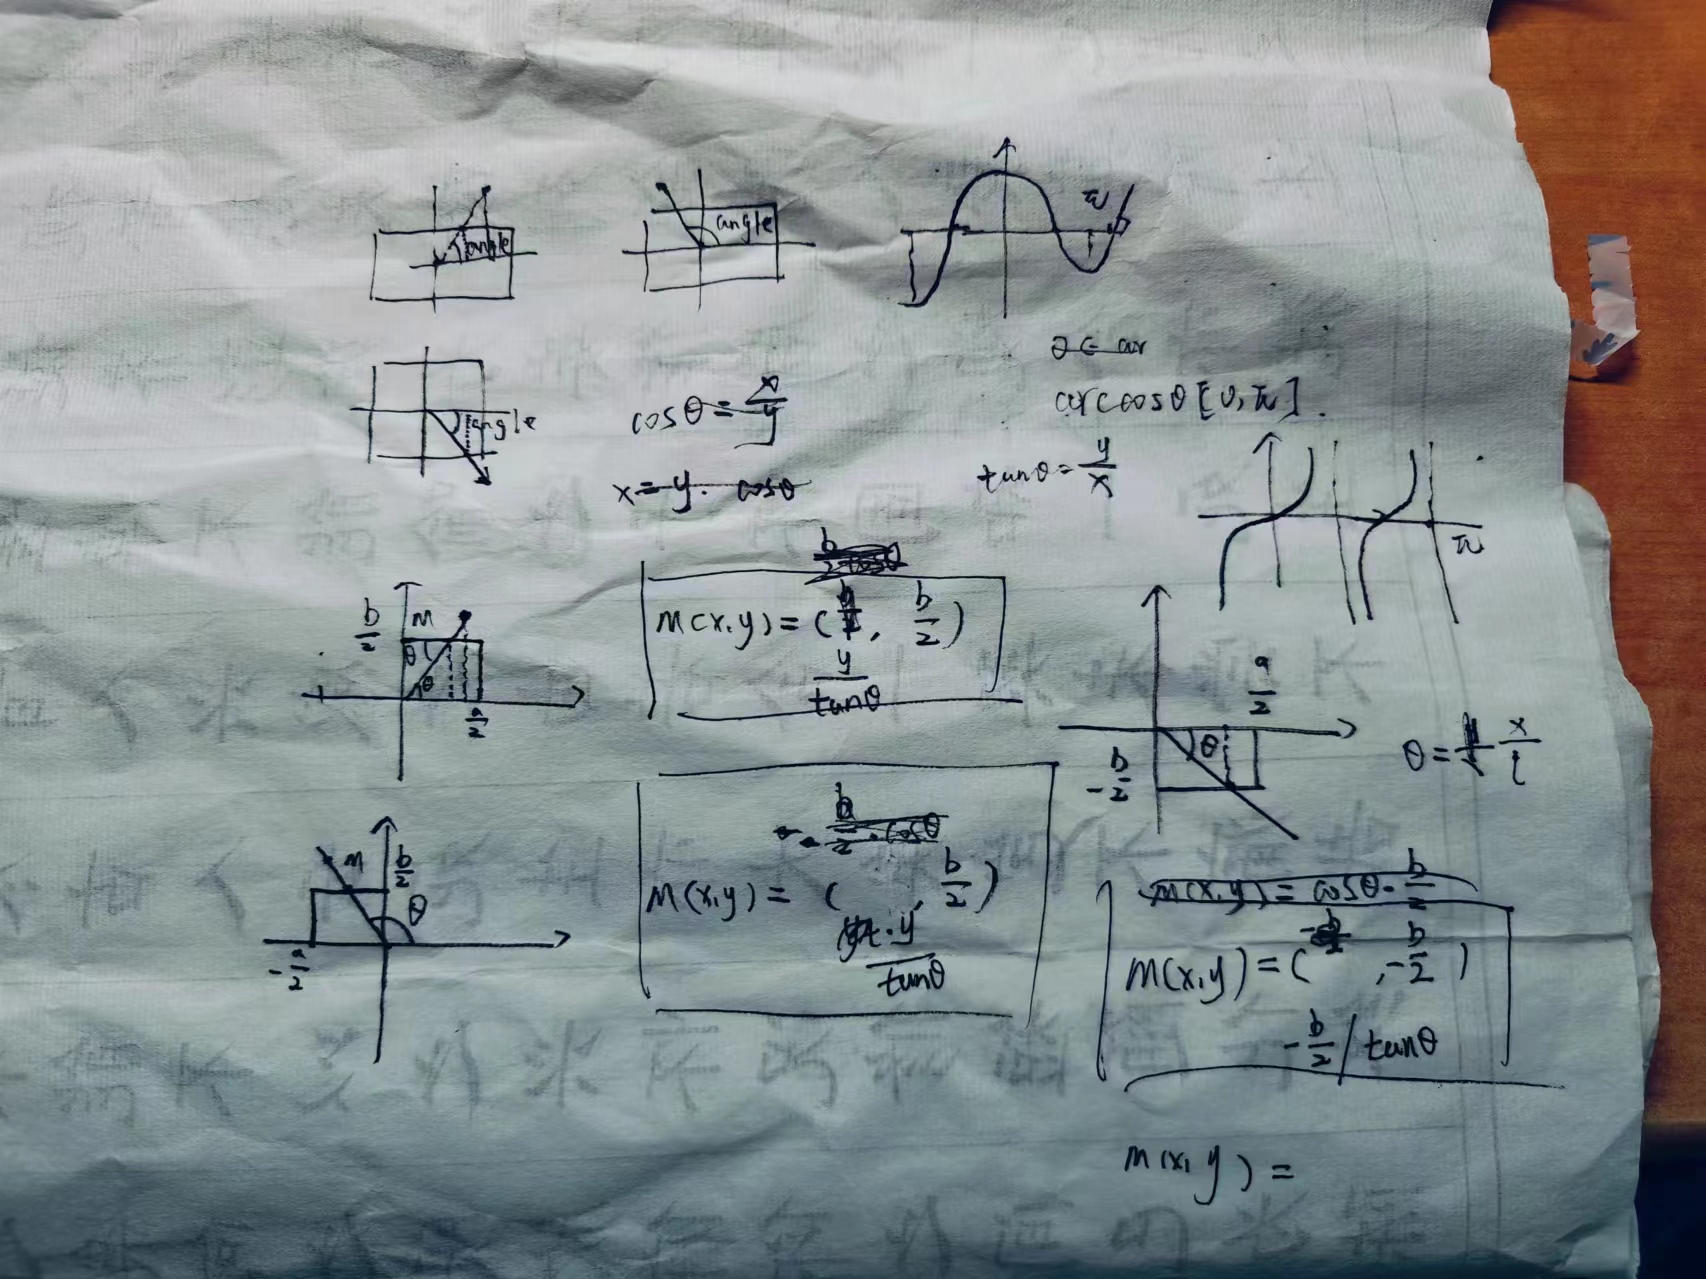
坐标计算分析简图:
以上代码依然有BUG,有时间完善
